
Light & Time
"Photography takes an instant out of time, altering life by holding it still."
-Dorothea Lange

Tapping into the creativity of the talented future photographers at D-UP will stay with our team for a long time to come!
We are SO excited and proud to have partnered with the good folks at D-Up; a community based youth enrichment program; their mission to provide comprehensive wraparound services for children, adults, and families by promoting health; education; and life readiness; with the ultimate goal of maximizing individual life experiences and increasing the economic self-sufficiency of families.
After being introduced to Jackie Davis and her staff during the Rebranding High Point engagement tour we knew we wanted to assist D-Up in their endeavors as they approached the capital campaign to raise money for the construction and remodeling of their campus.
As a commercial photography and videography studio the obvious answer was to volunteer with their life-skills classes, which offered photography!
We created two fun and engaging classes teaching the students about photography, from camera obscura and pinhole camera techniques, to digital shooting and the different concentrations of professional photography; from portrait and action to landscapes and product photography.
Step 1
Pinhole cameras!
Most of us are familiar with the idea of a pinhole camera, either learning about them or having made them in school.
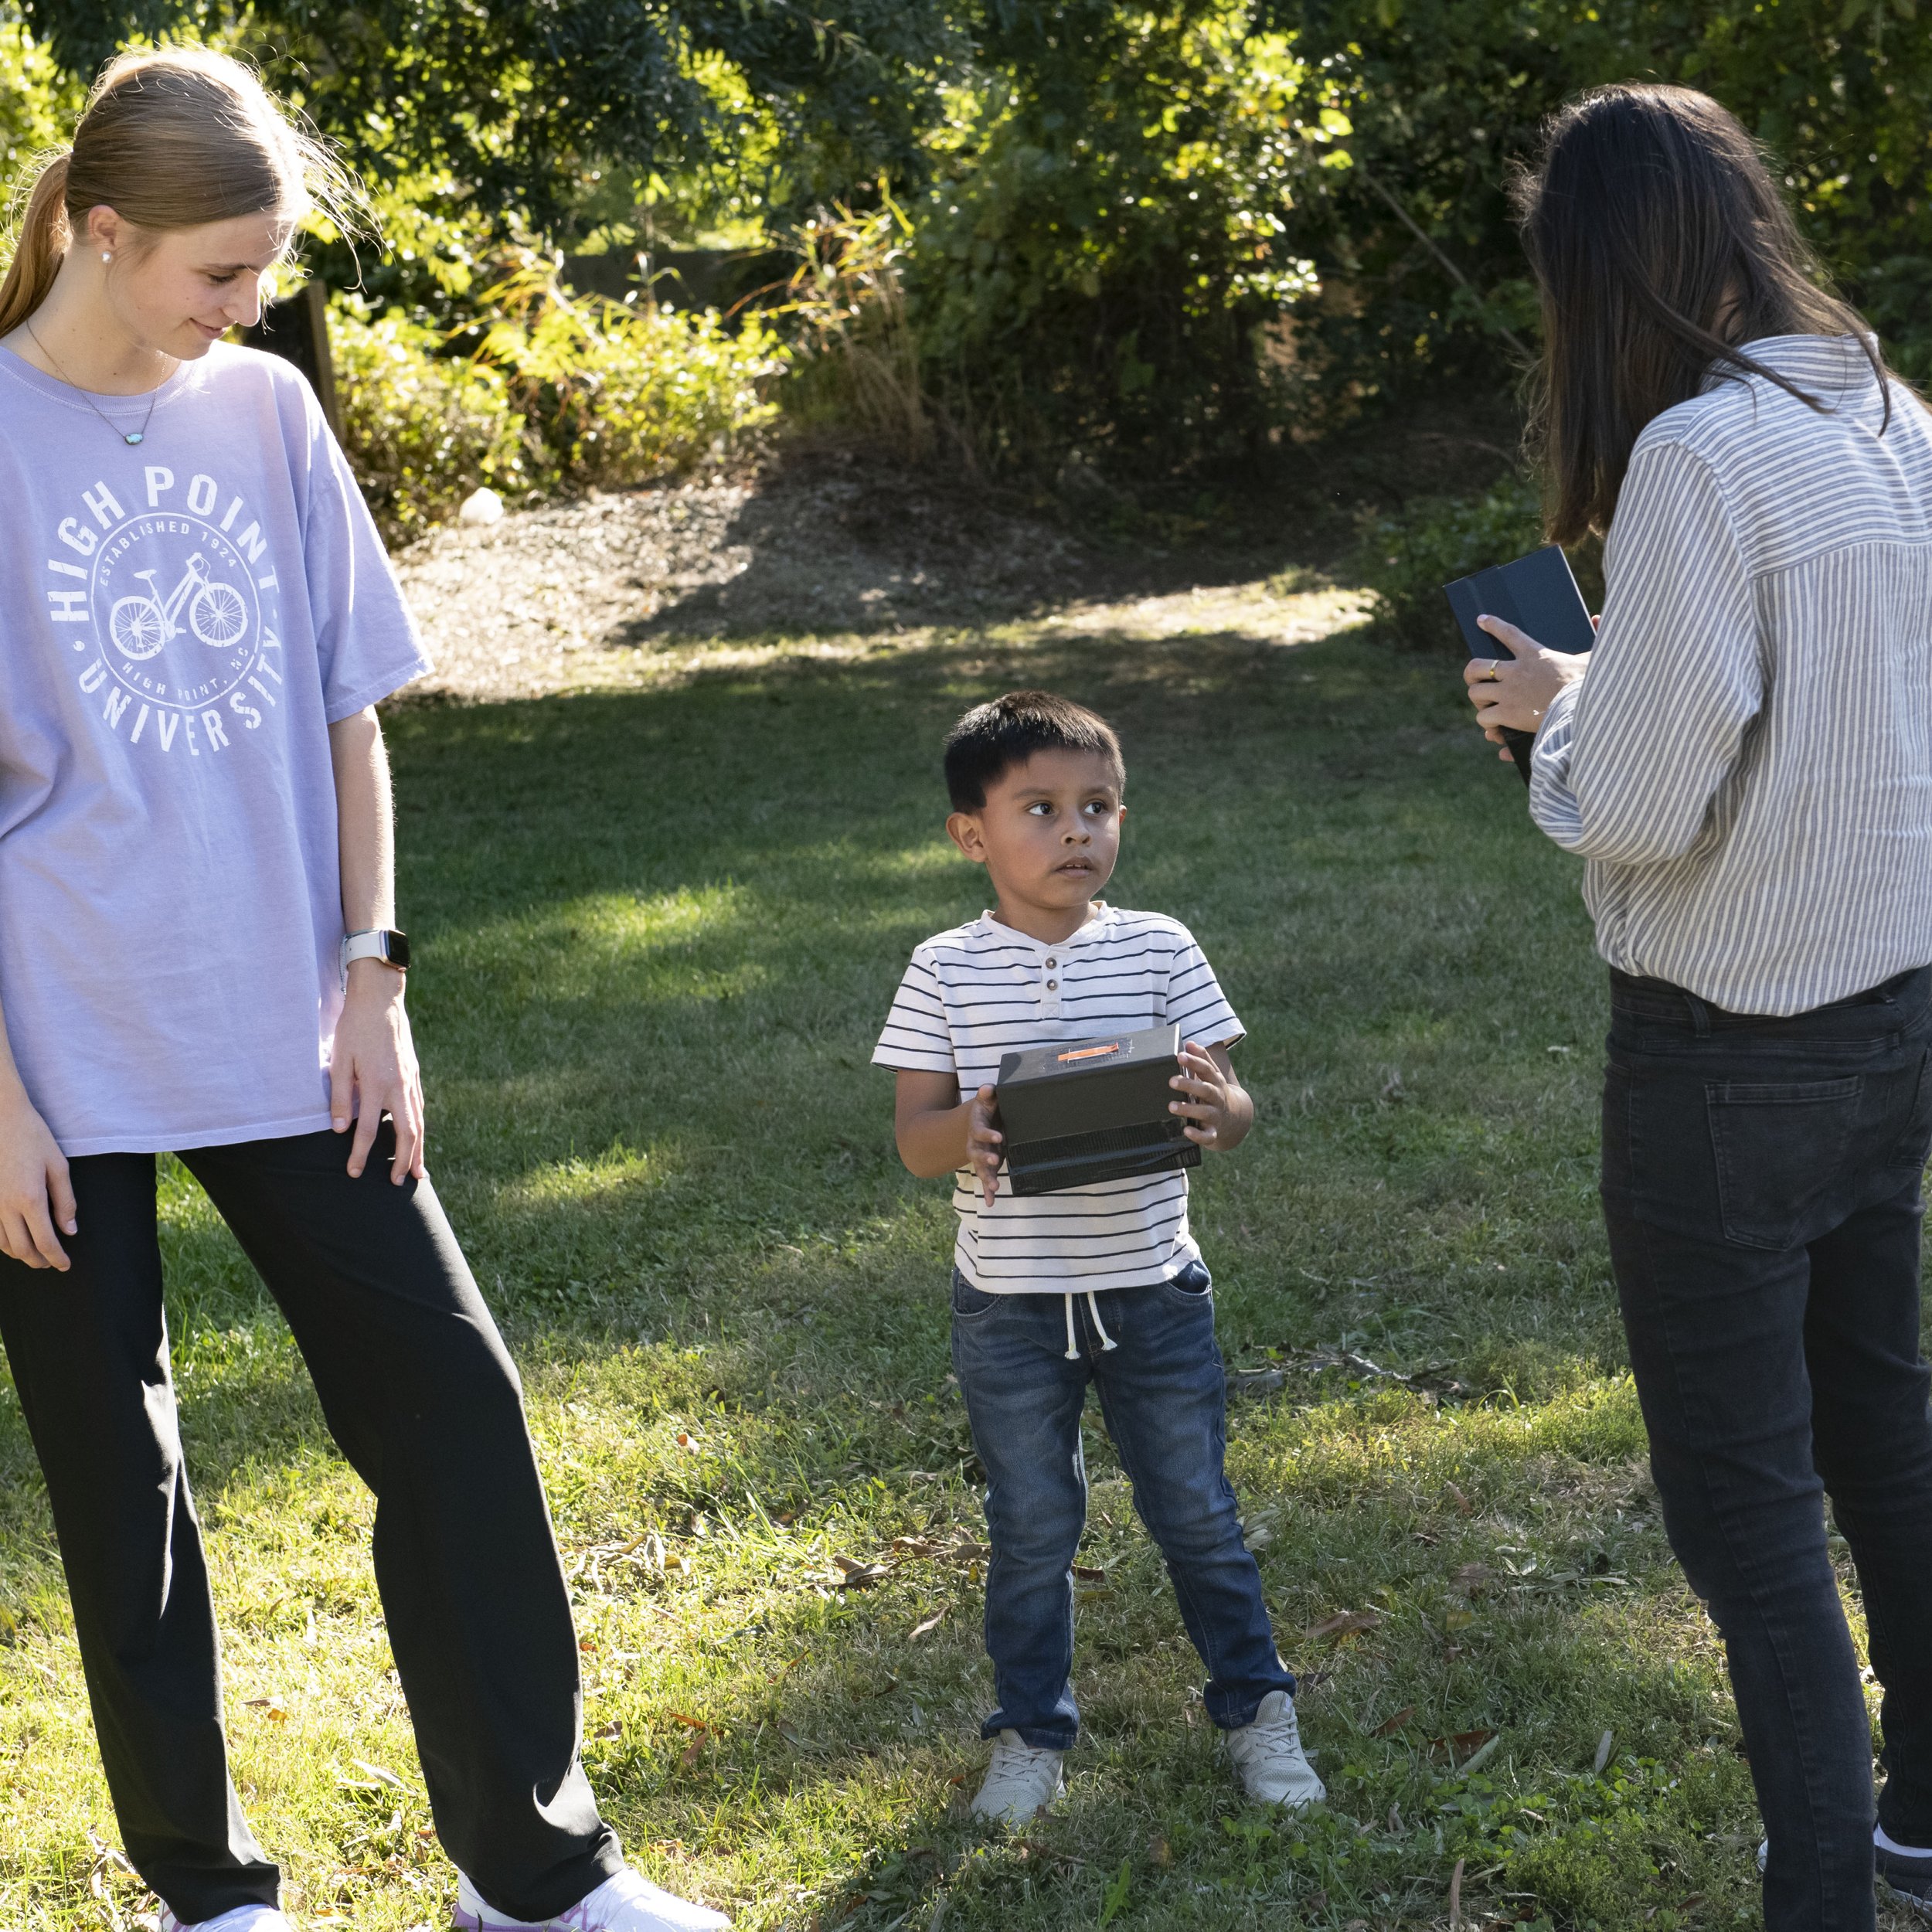
We made 25 small pinhole cameras for the students, using black paper-lined photo storage boxes. We made them light-tight and sealed them with black tape after placing a 4 x 6” piece of photo sensitive paper inside, while we were in a darkroom.
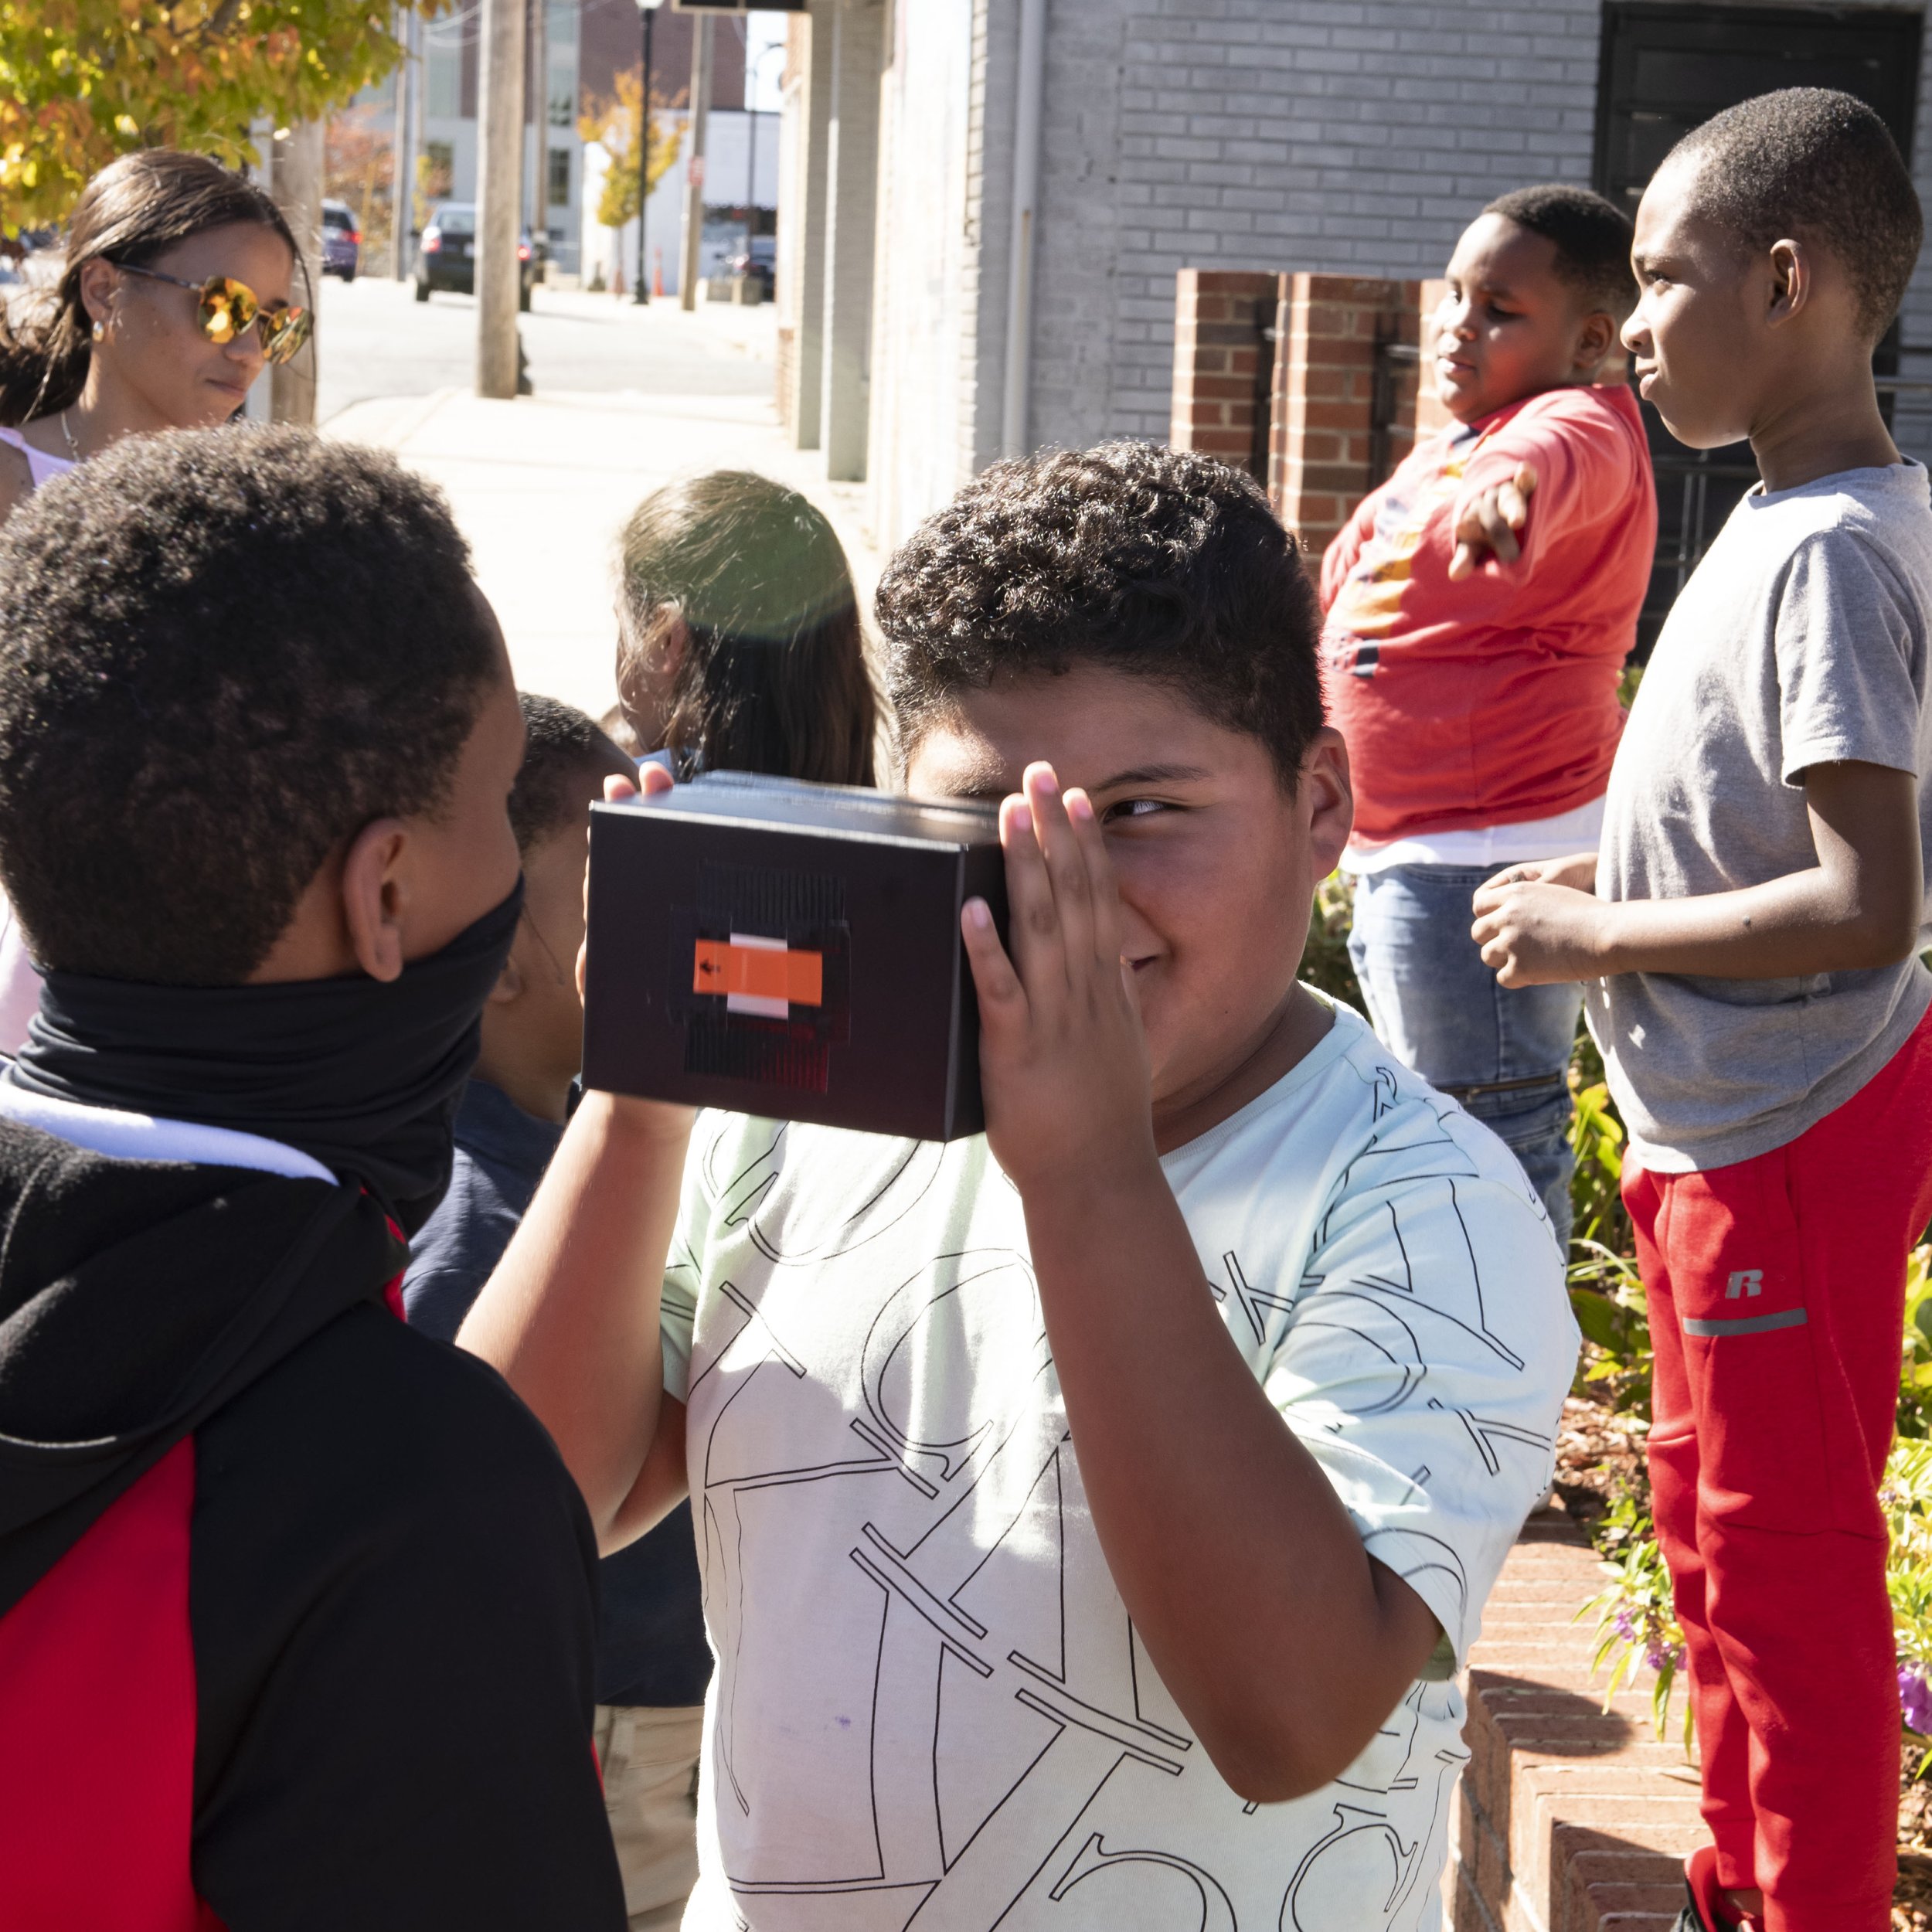
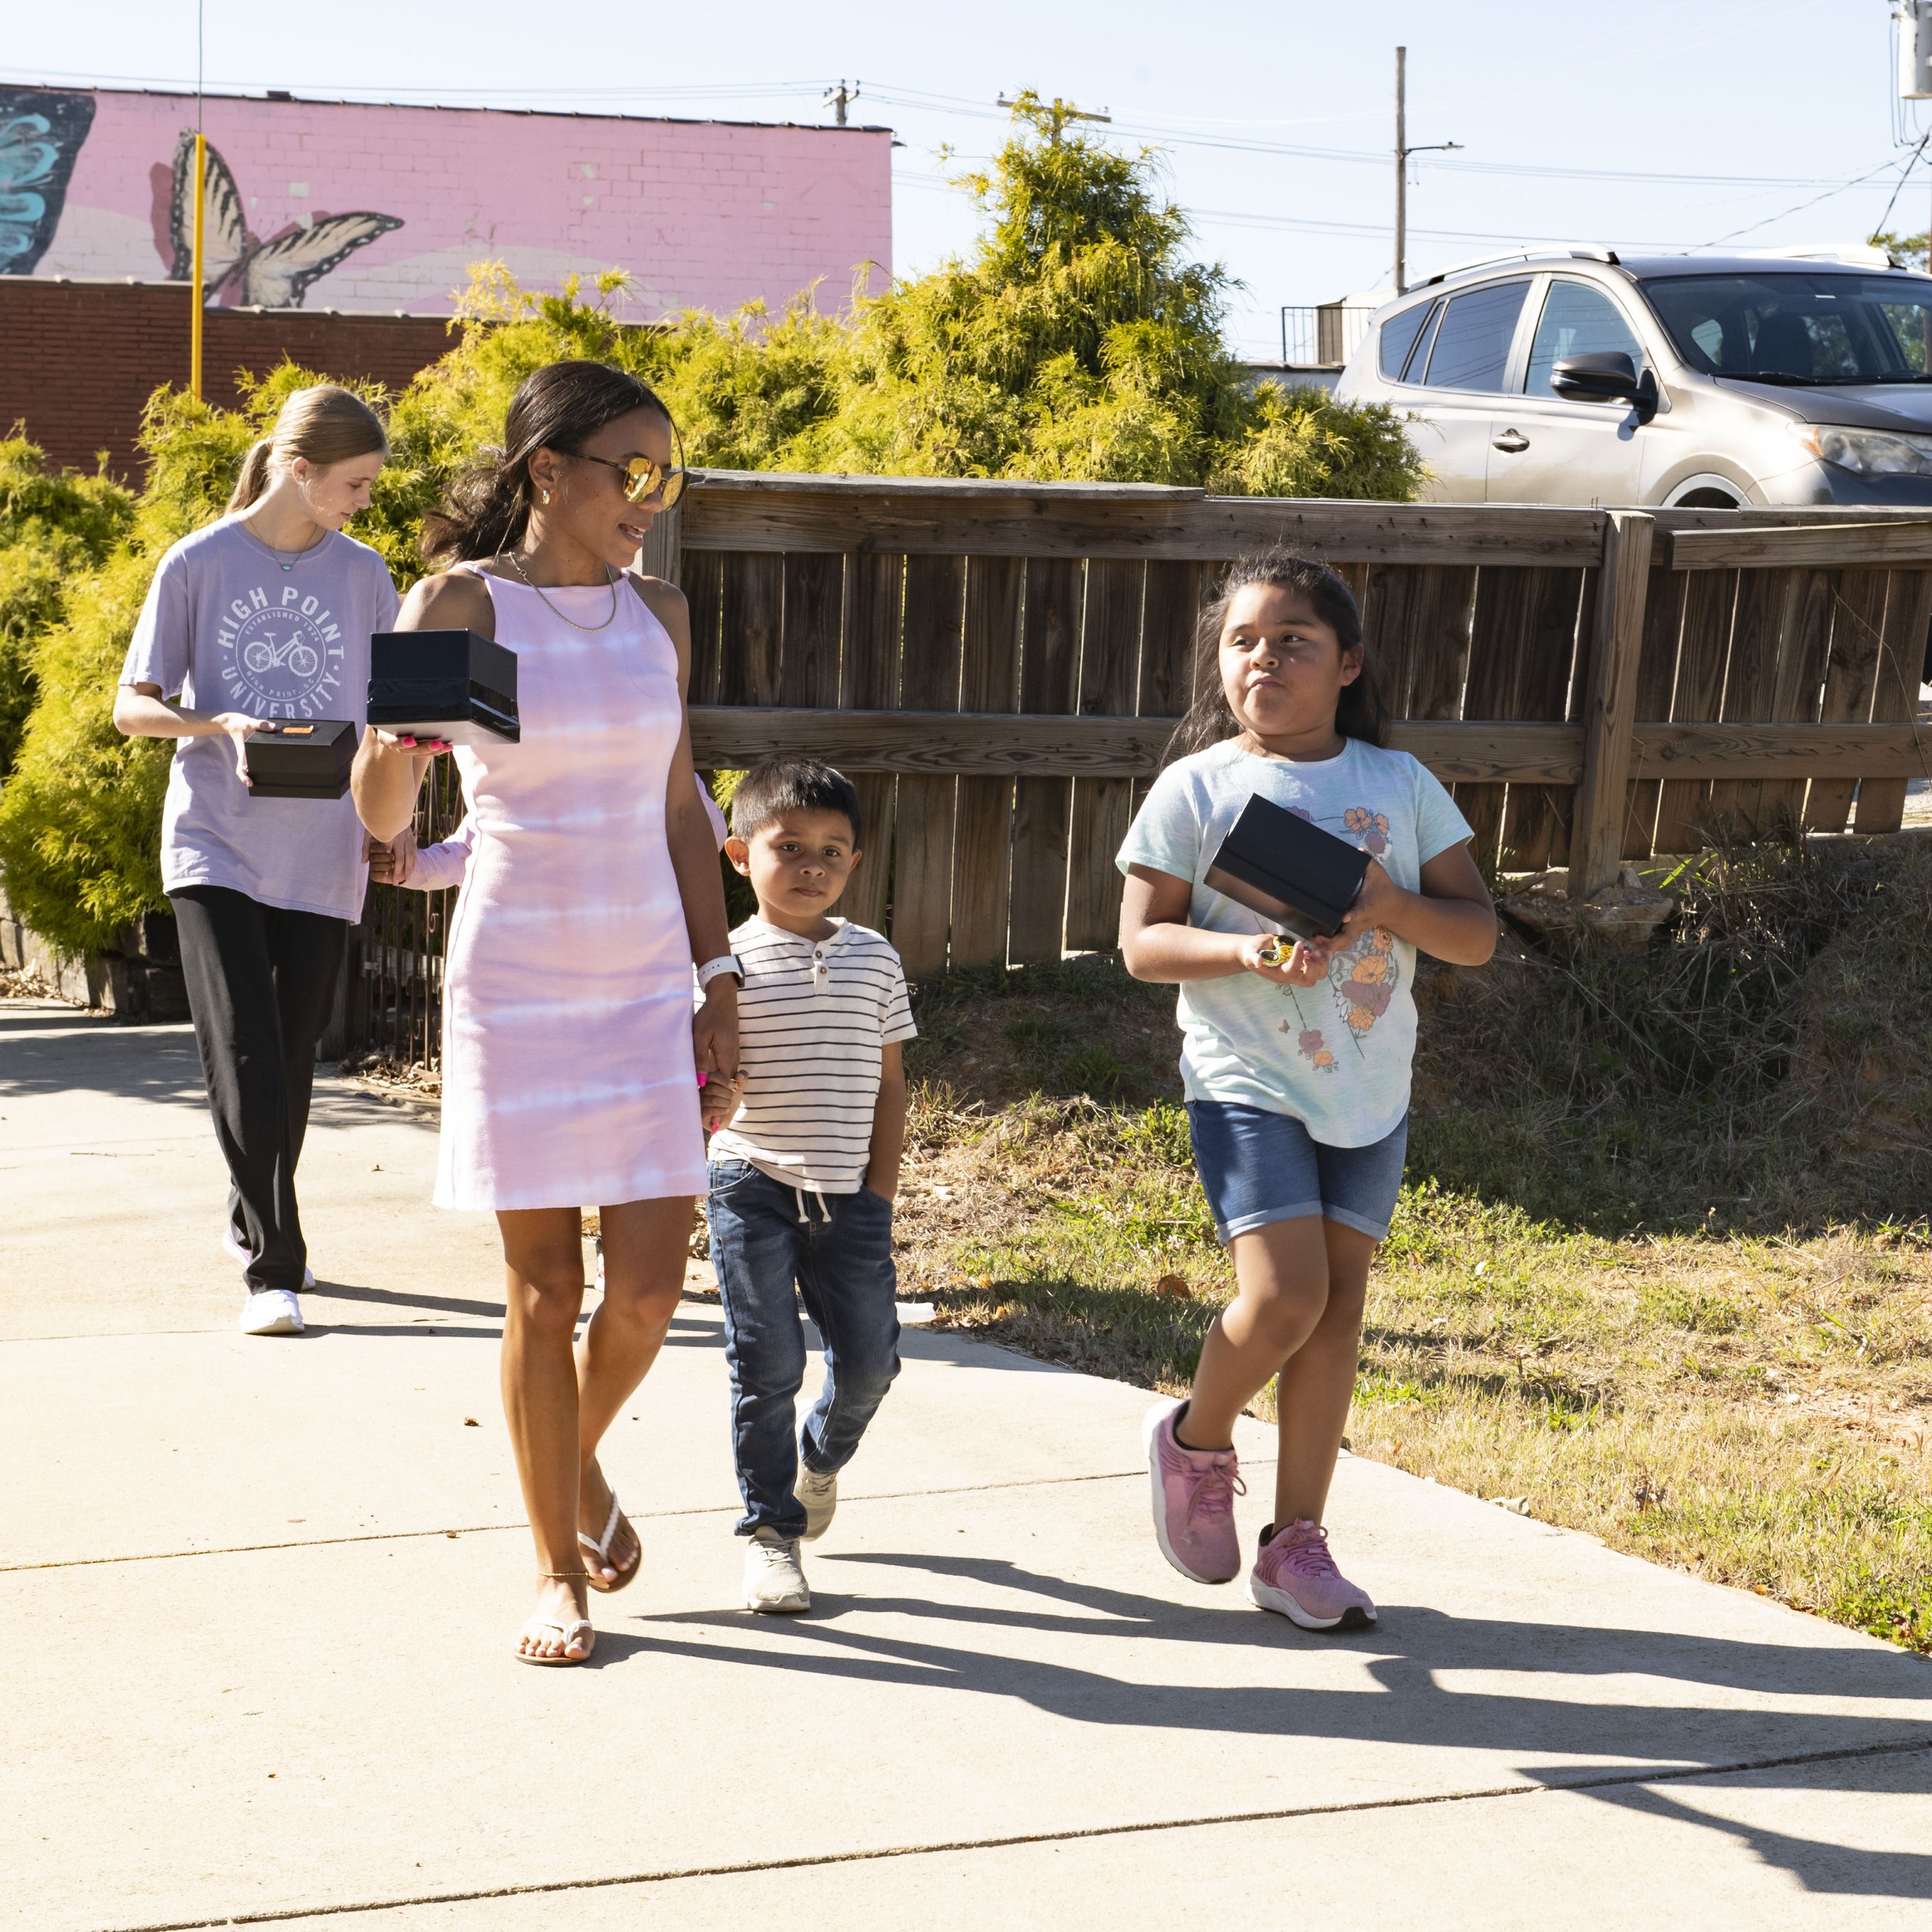
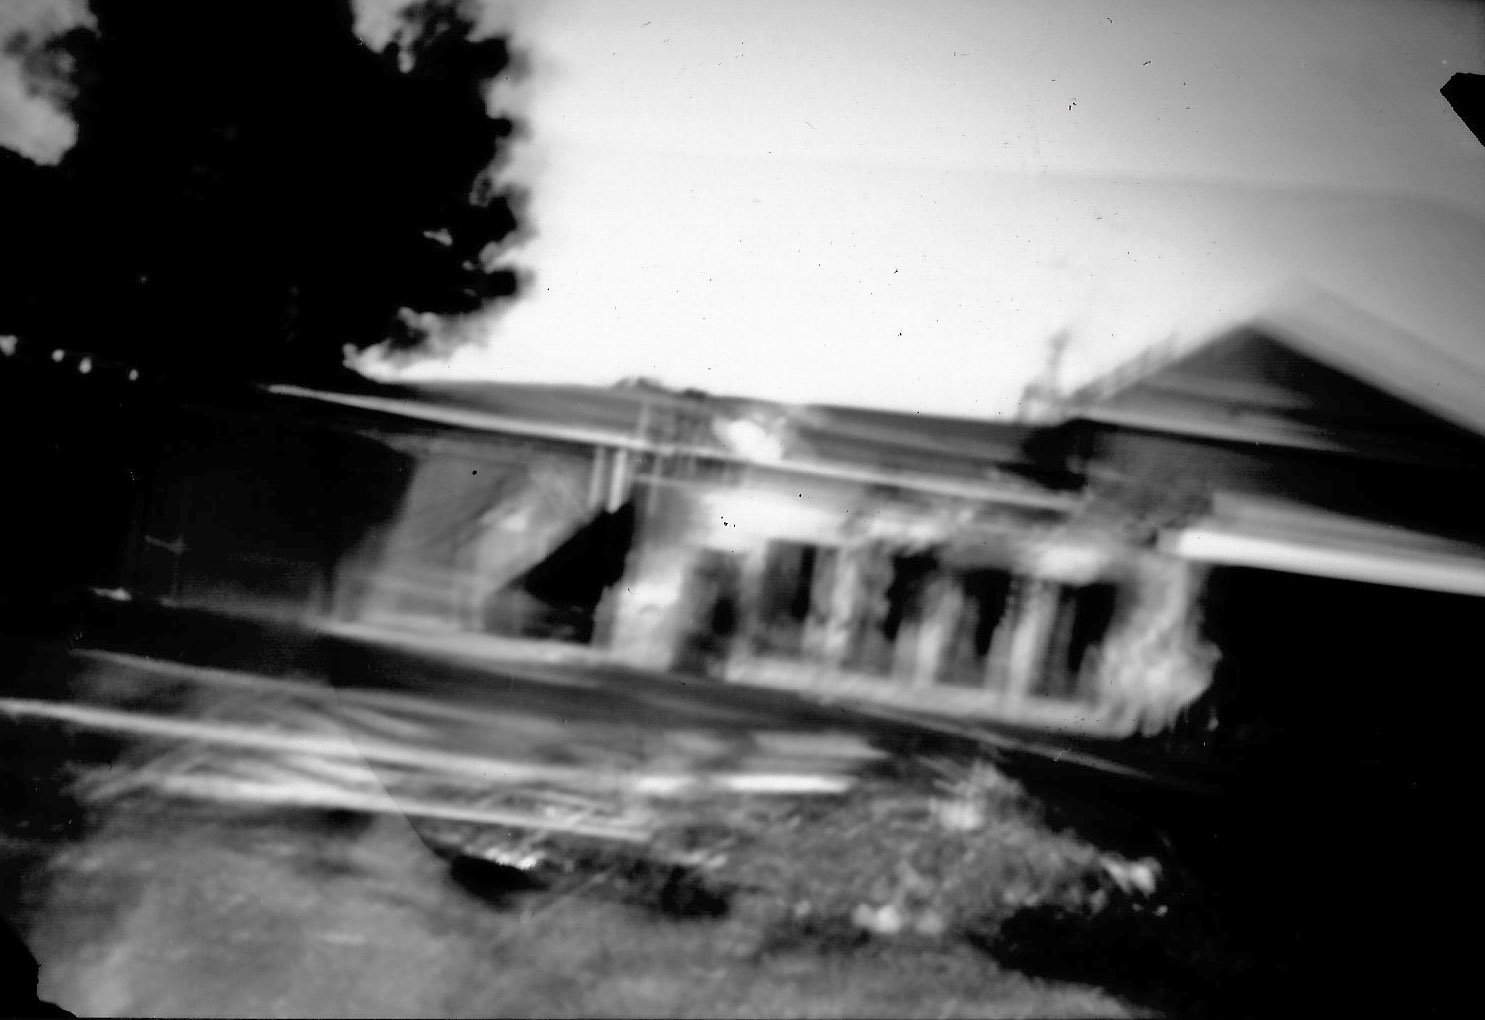
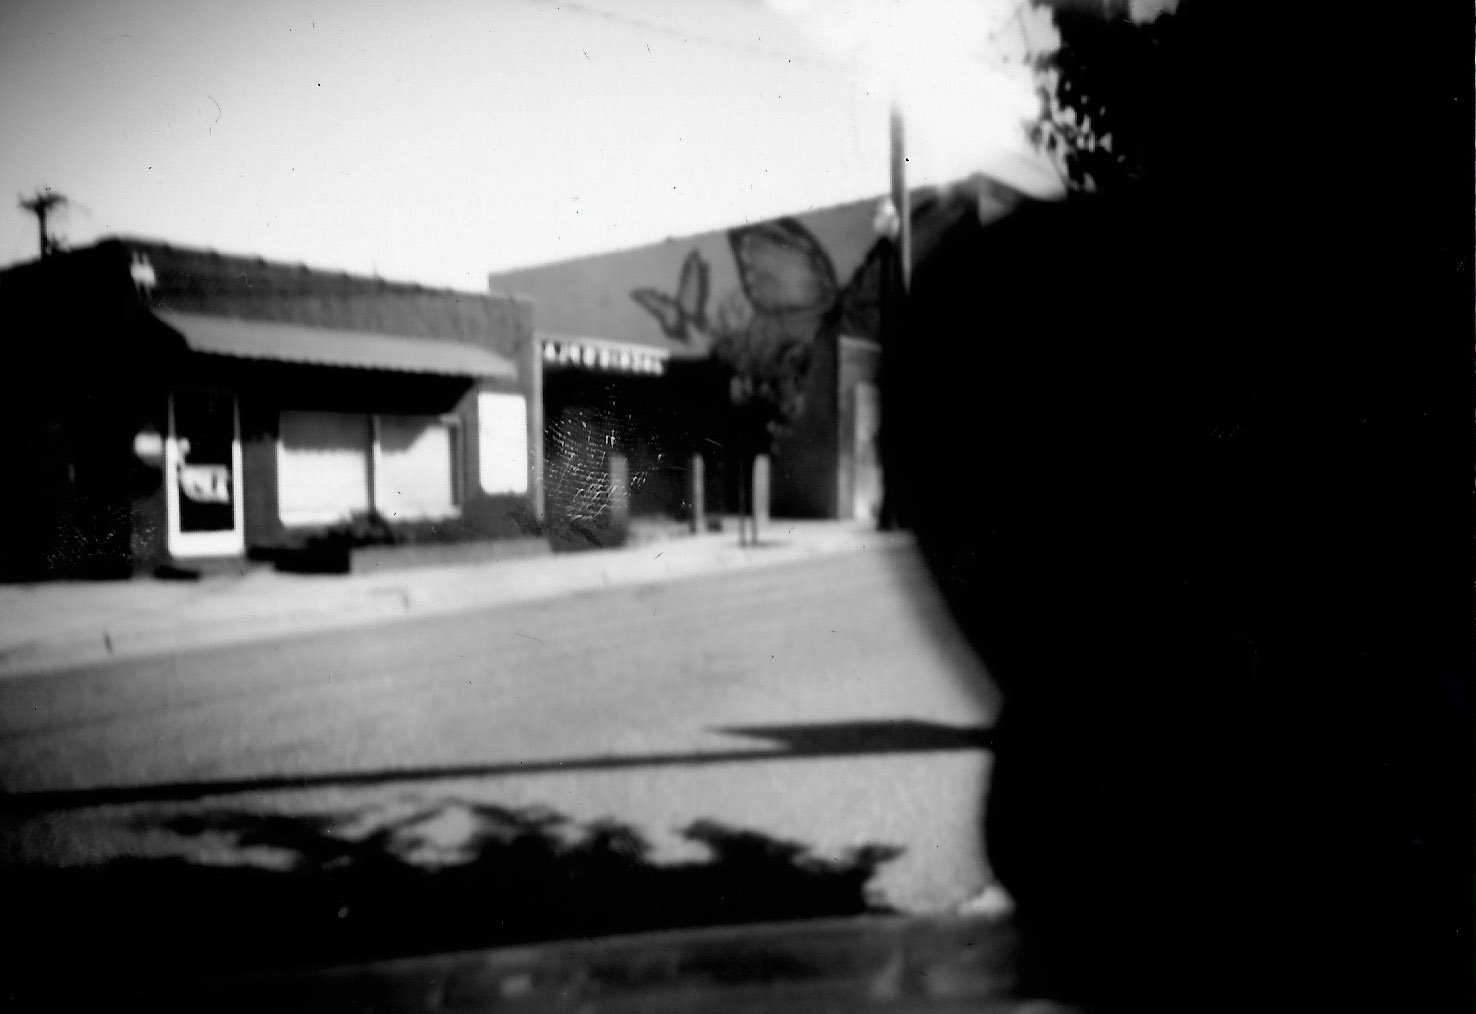
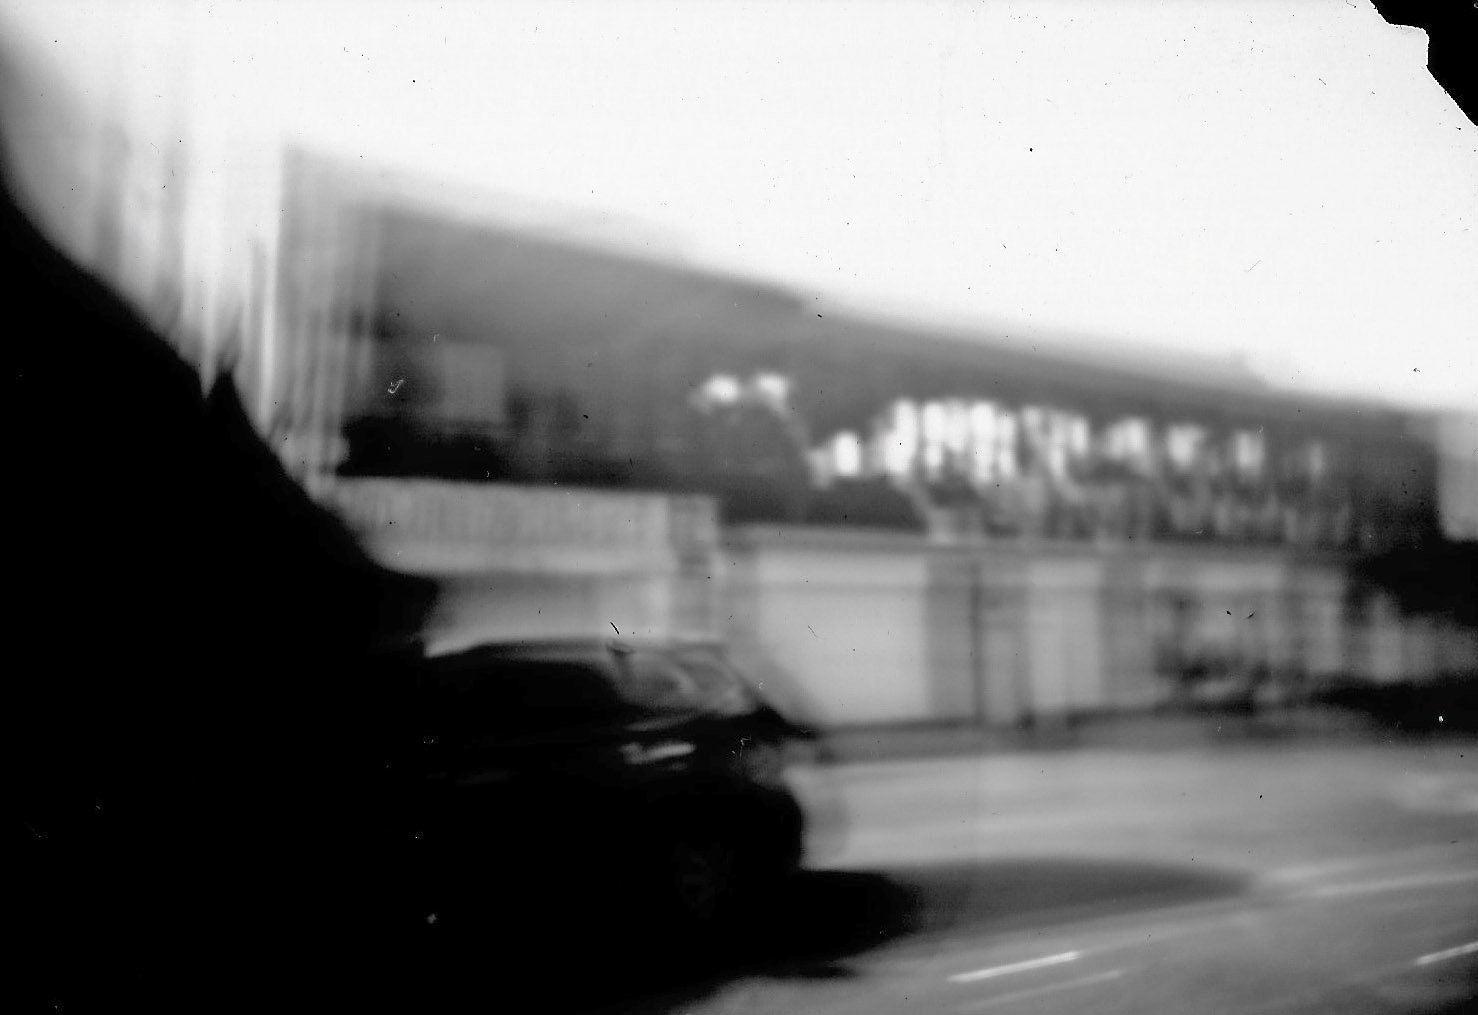
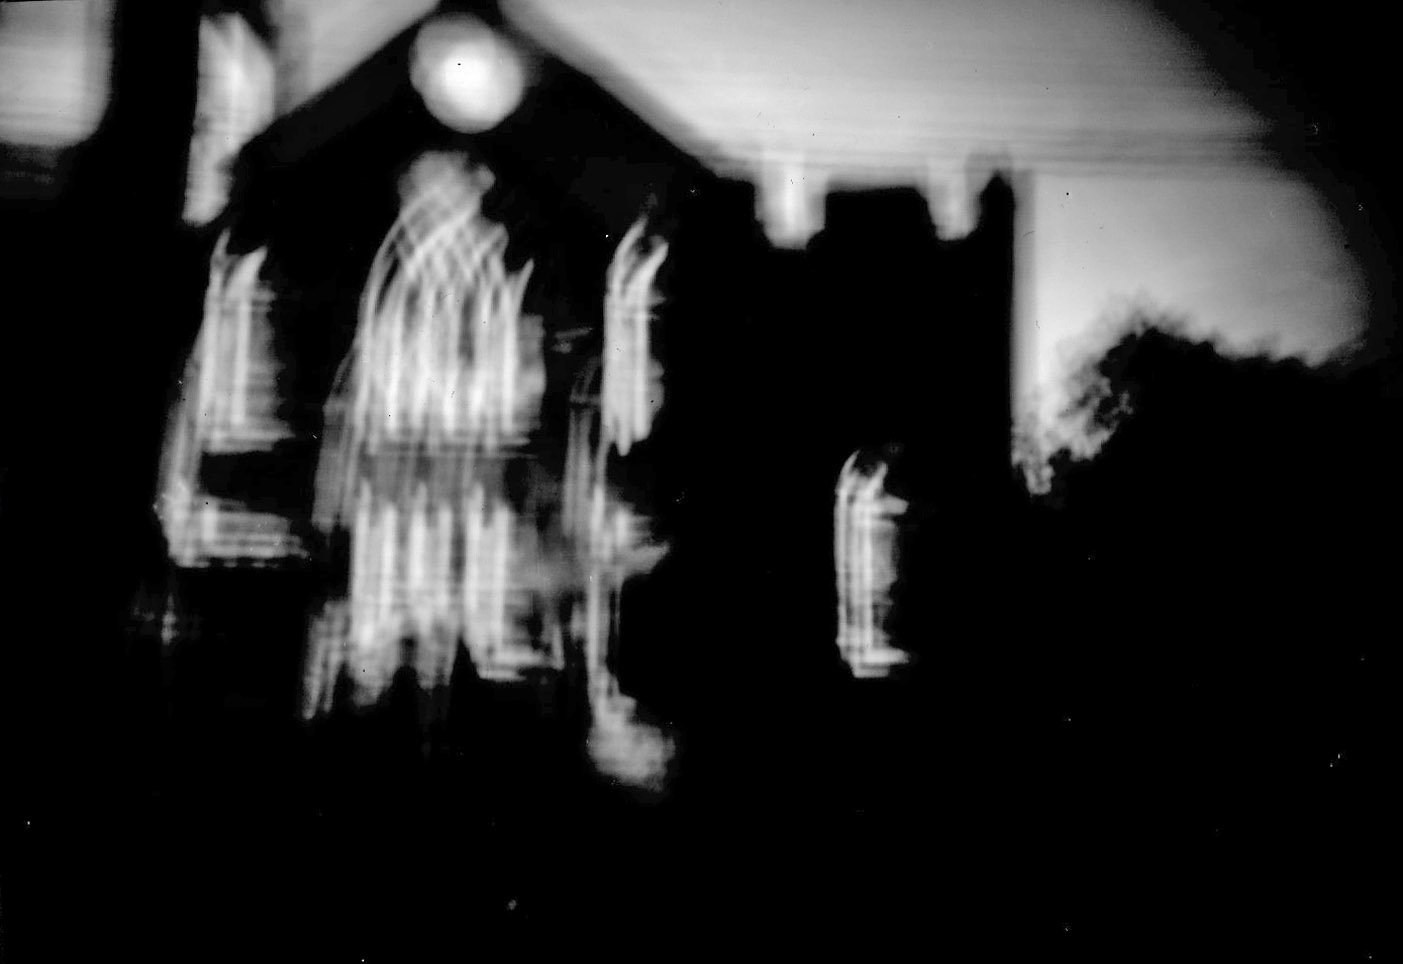
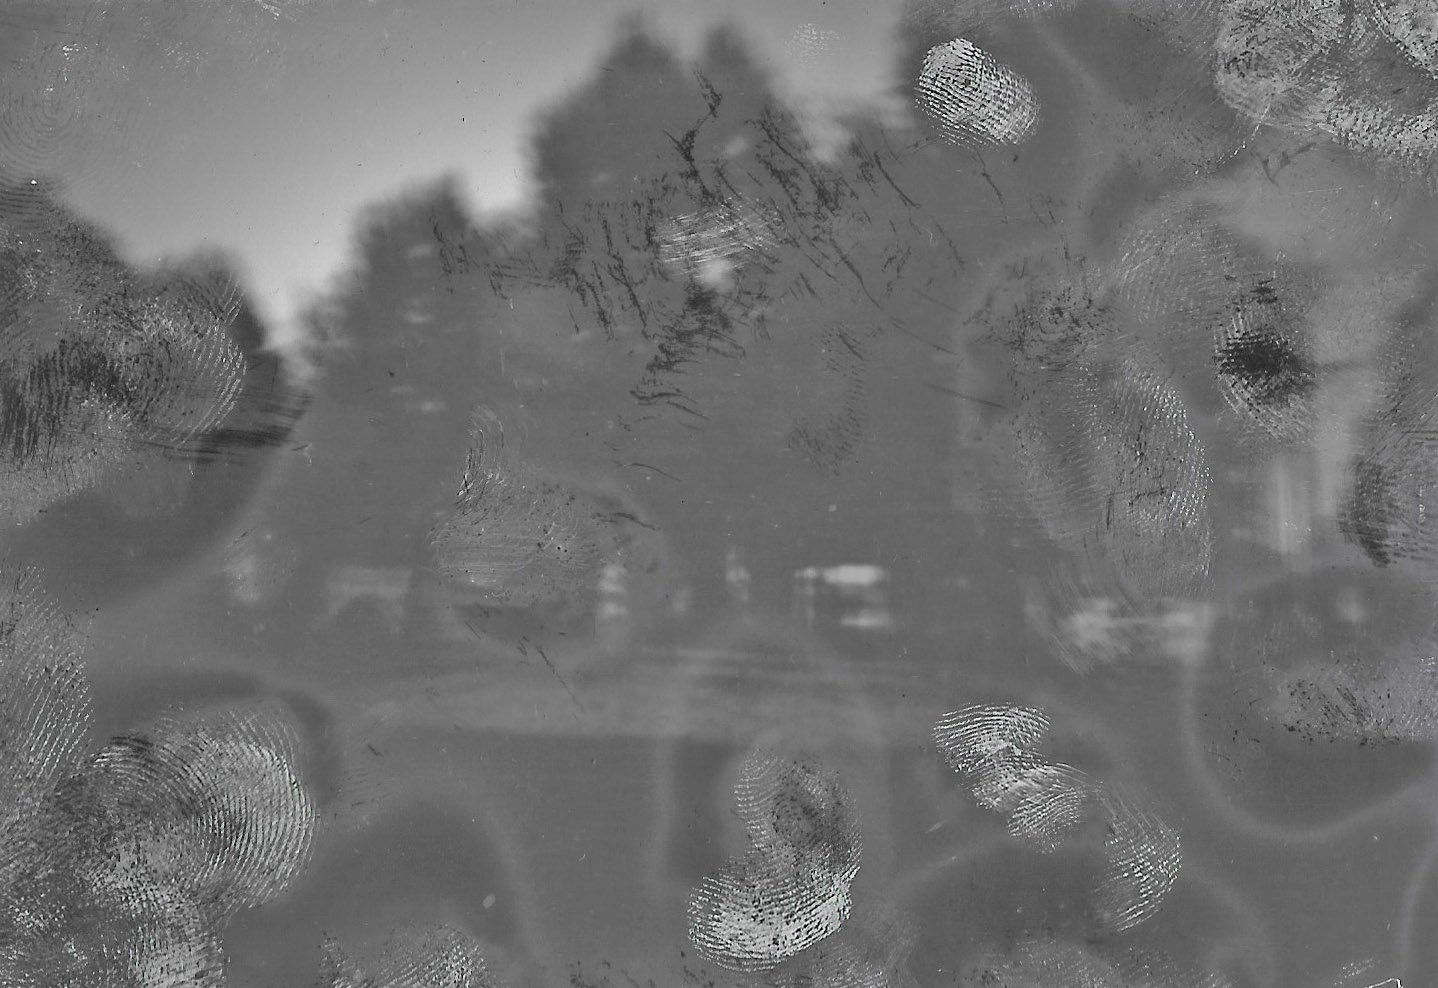
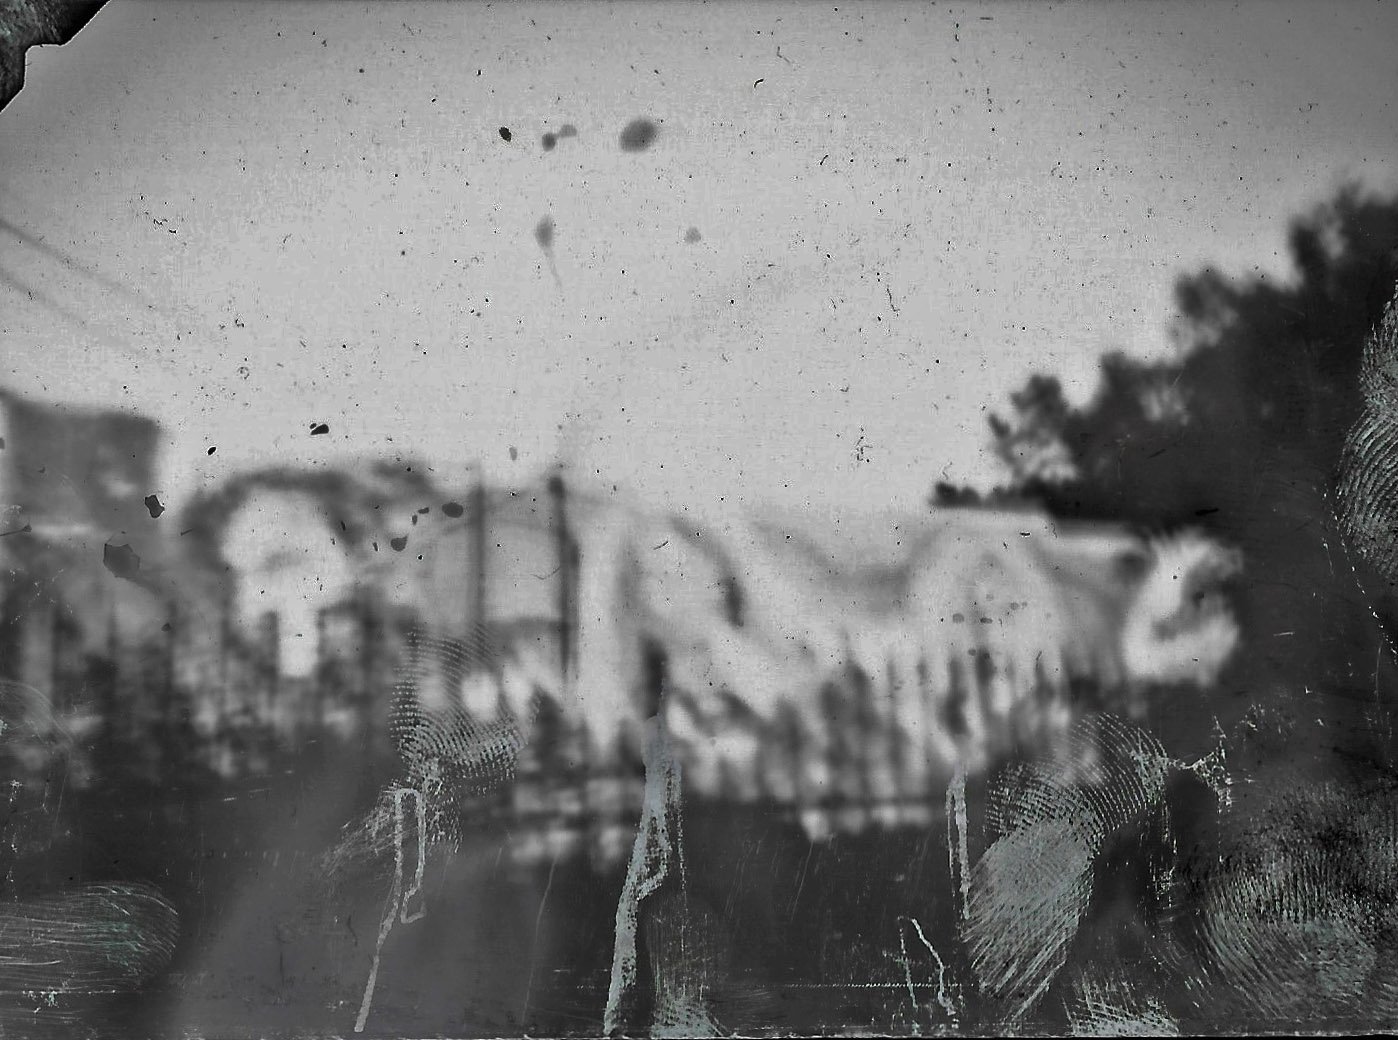
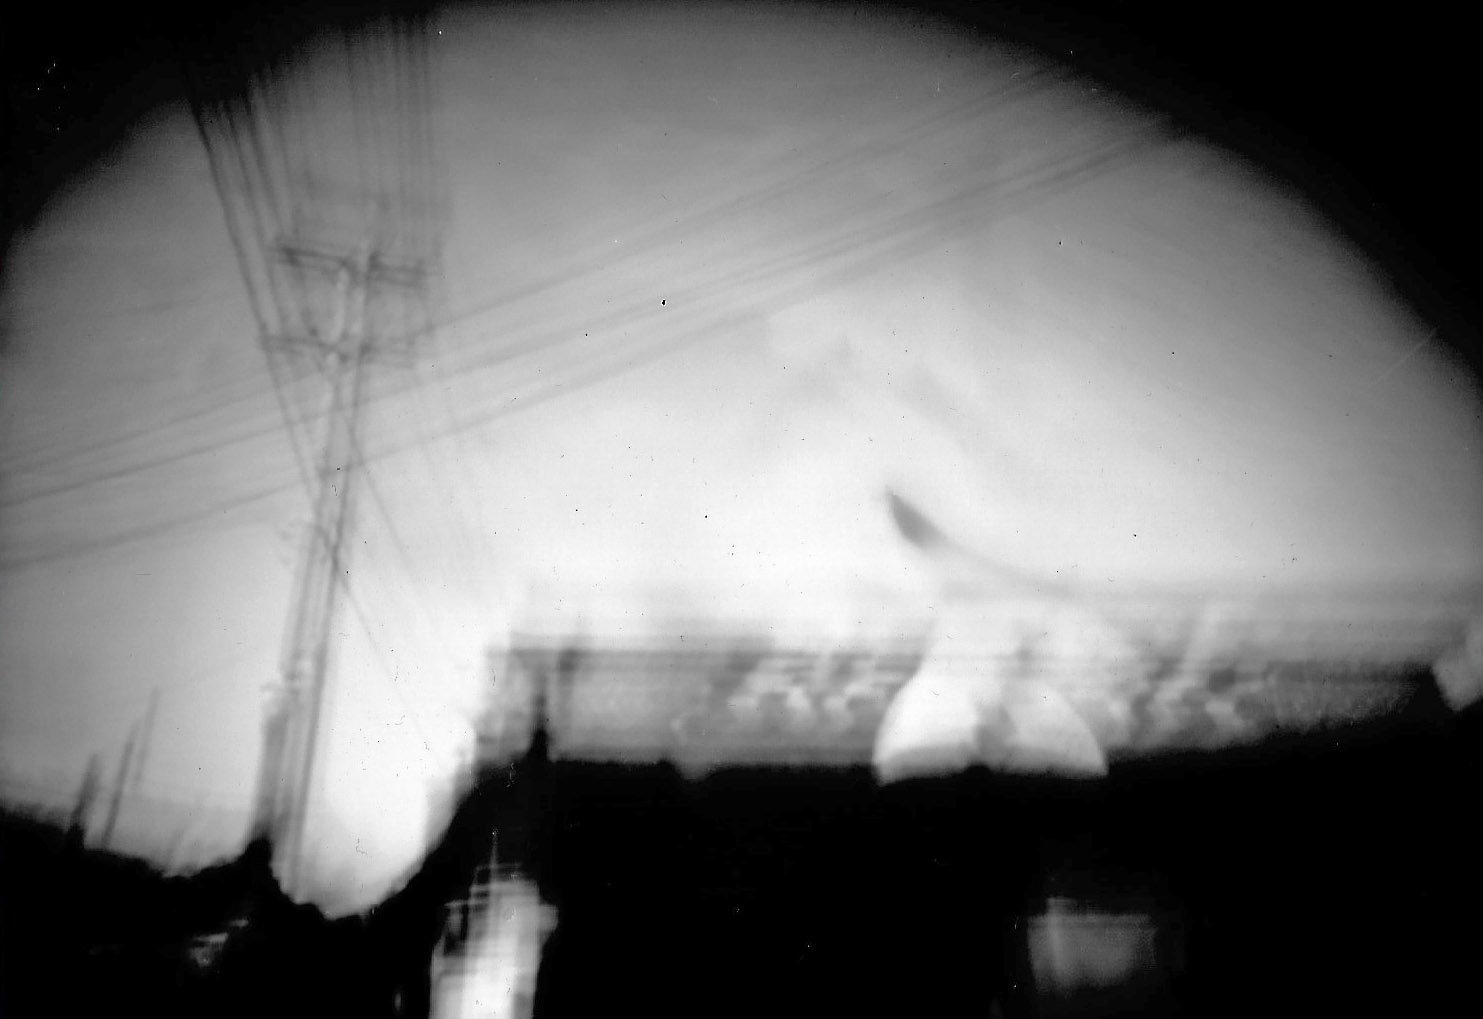
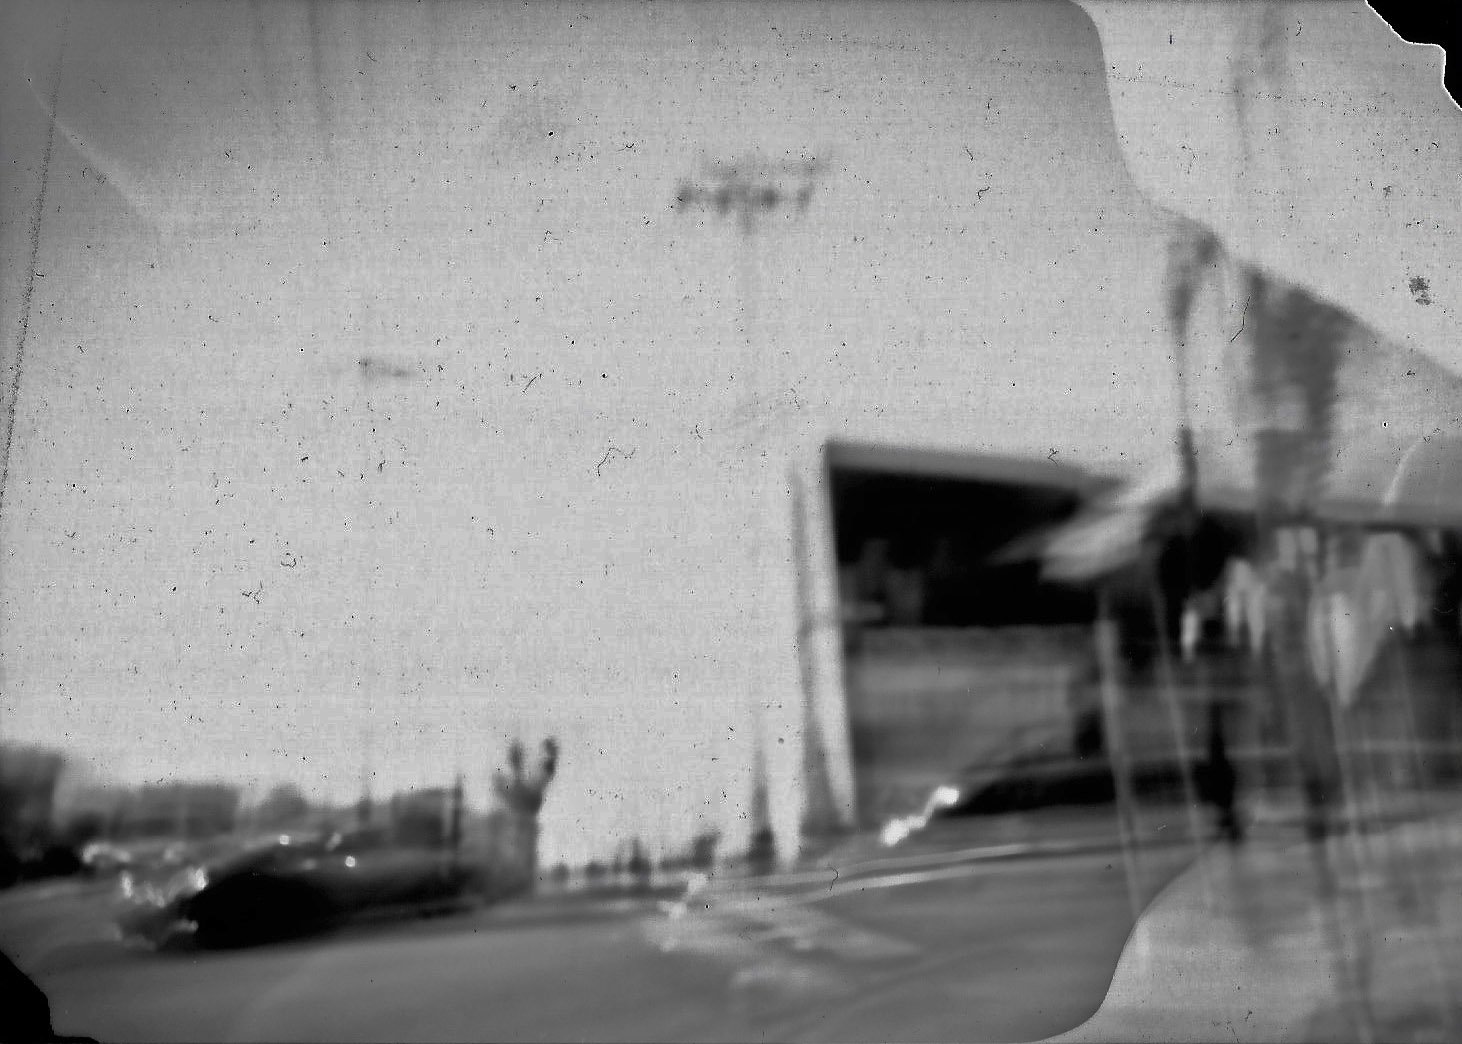
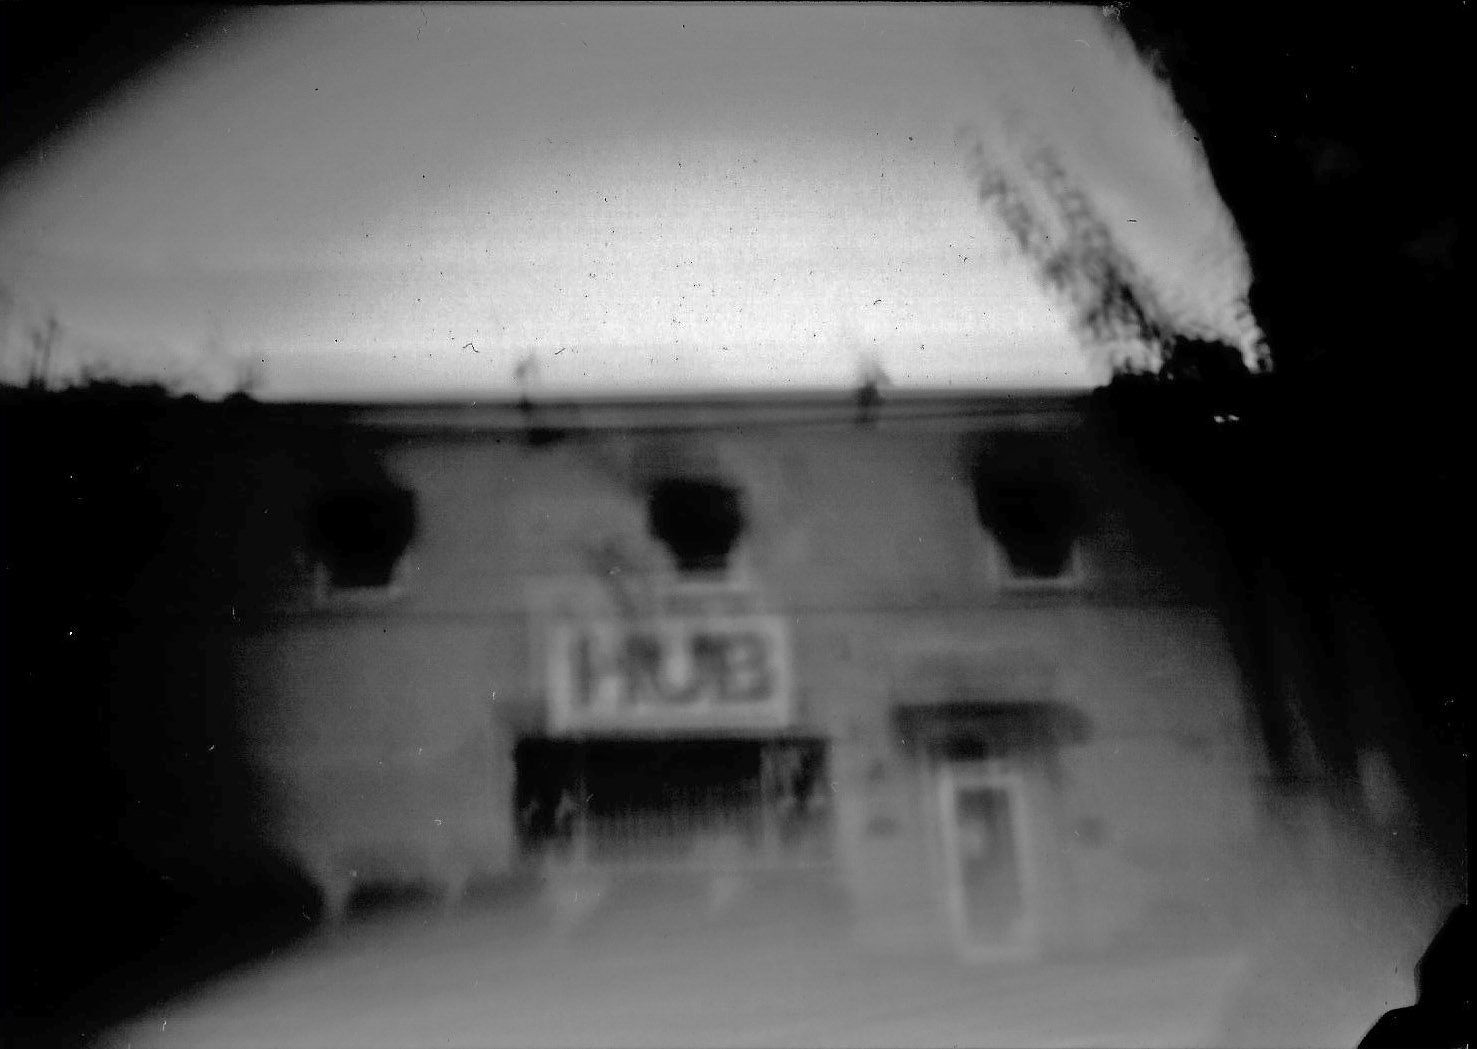
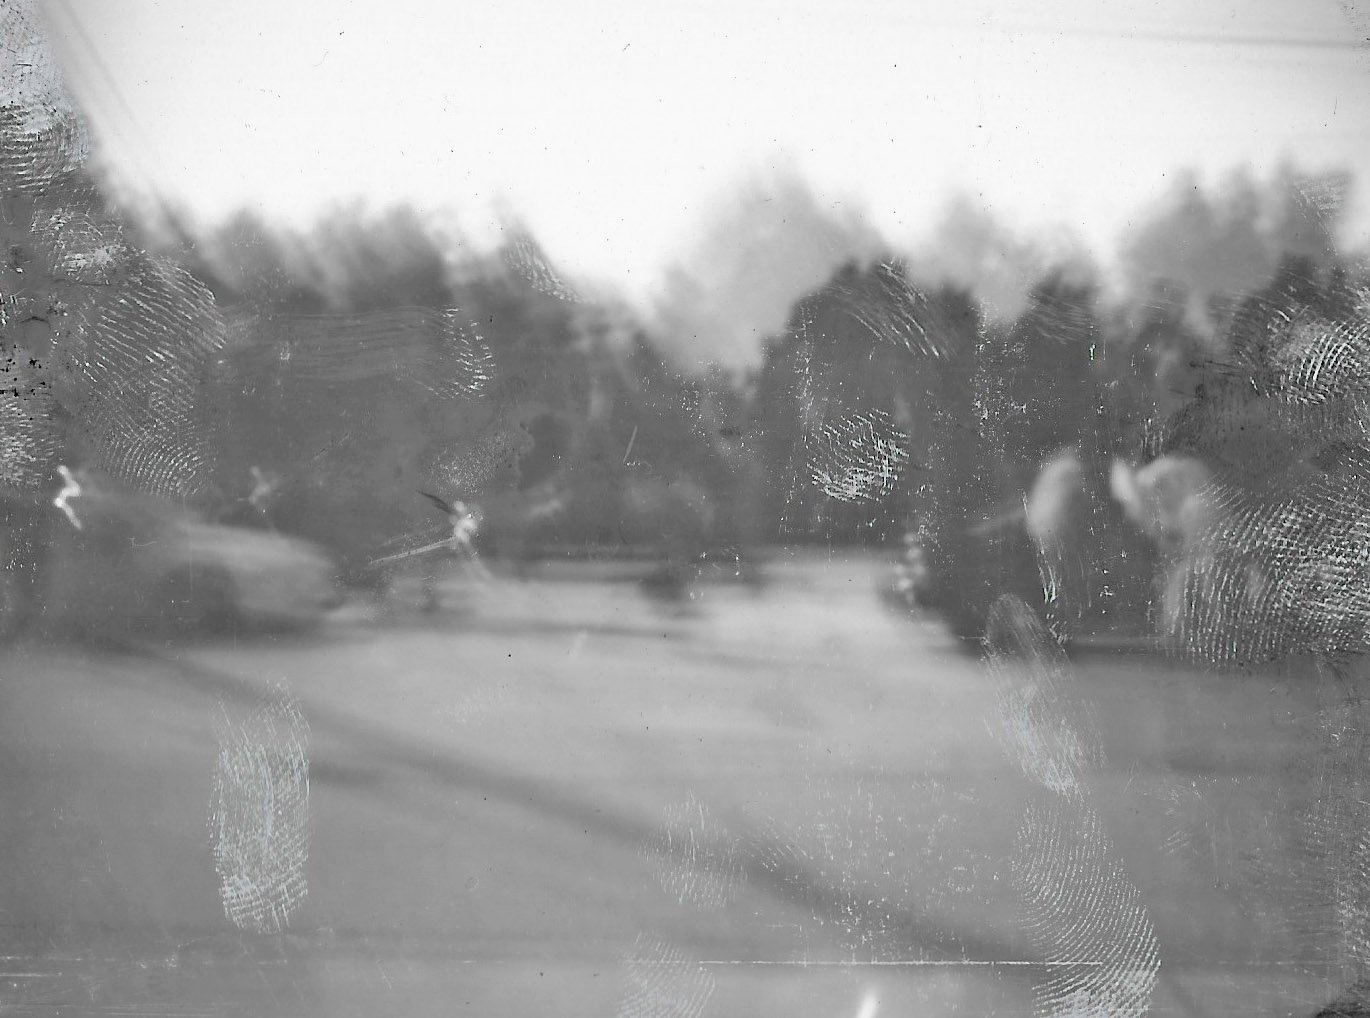
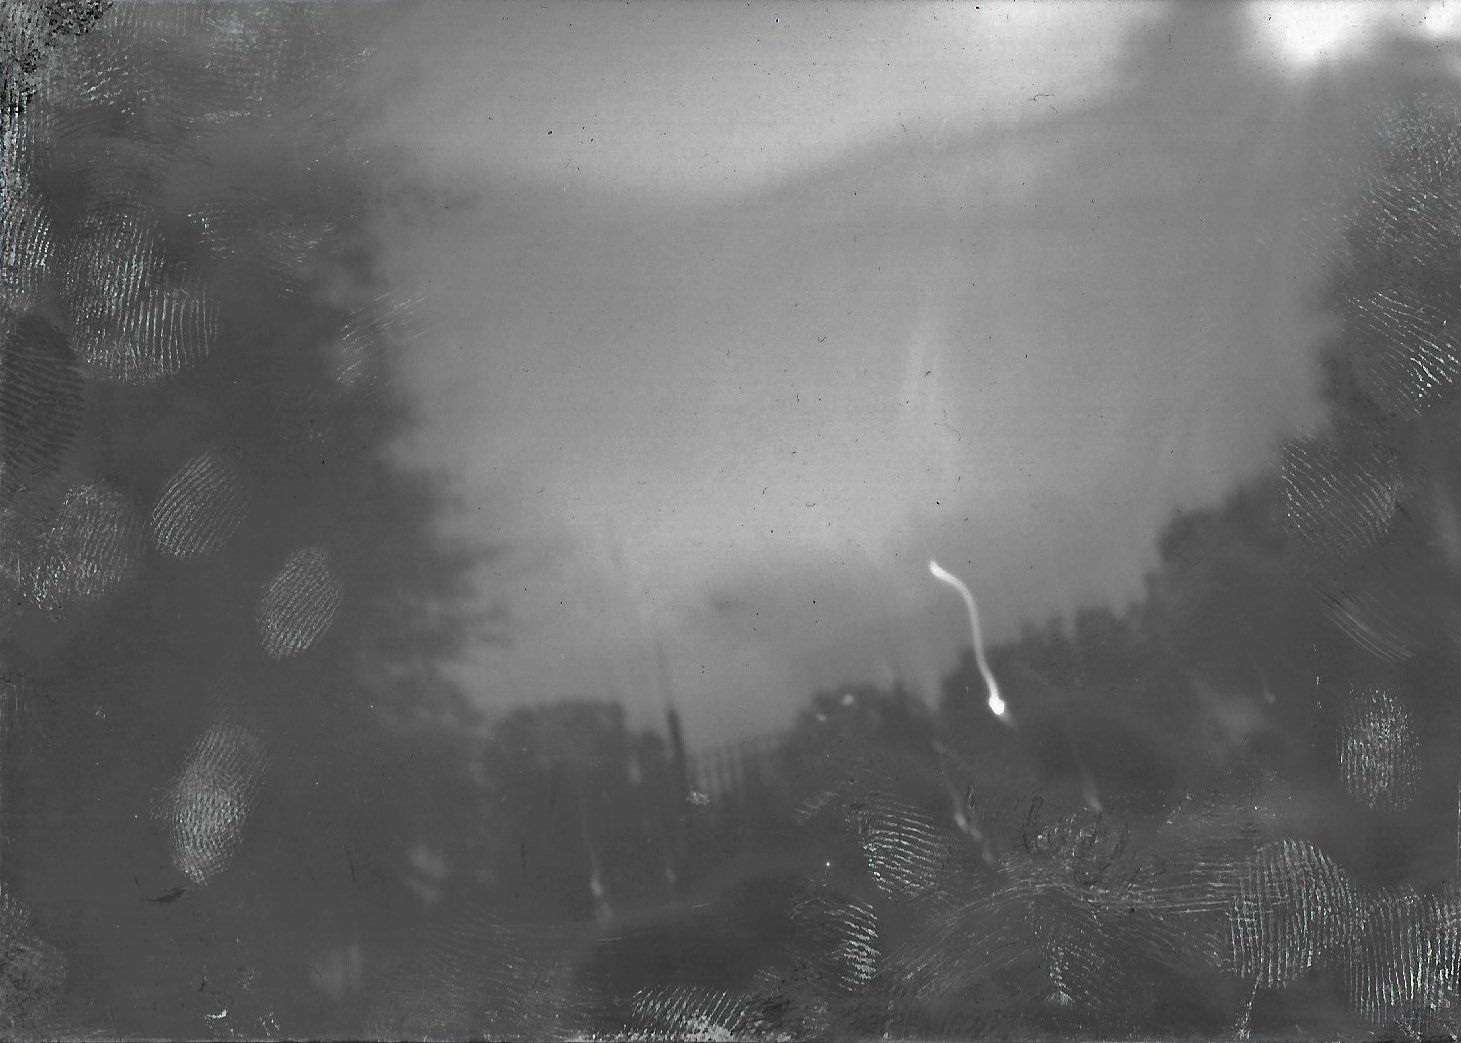
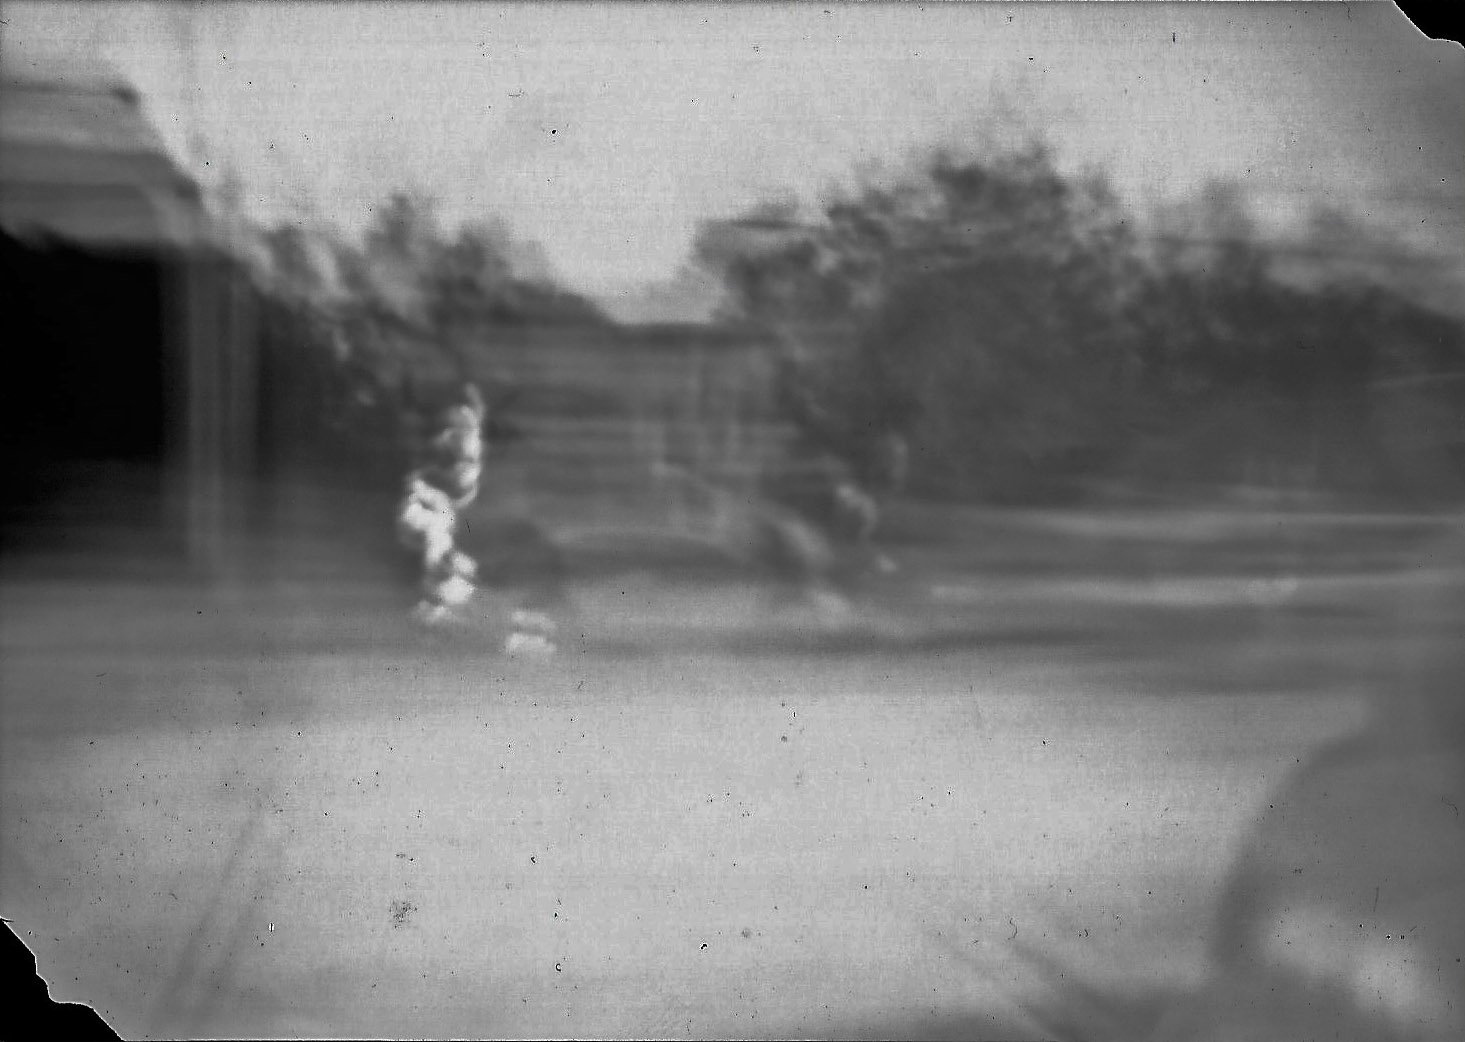
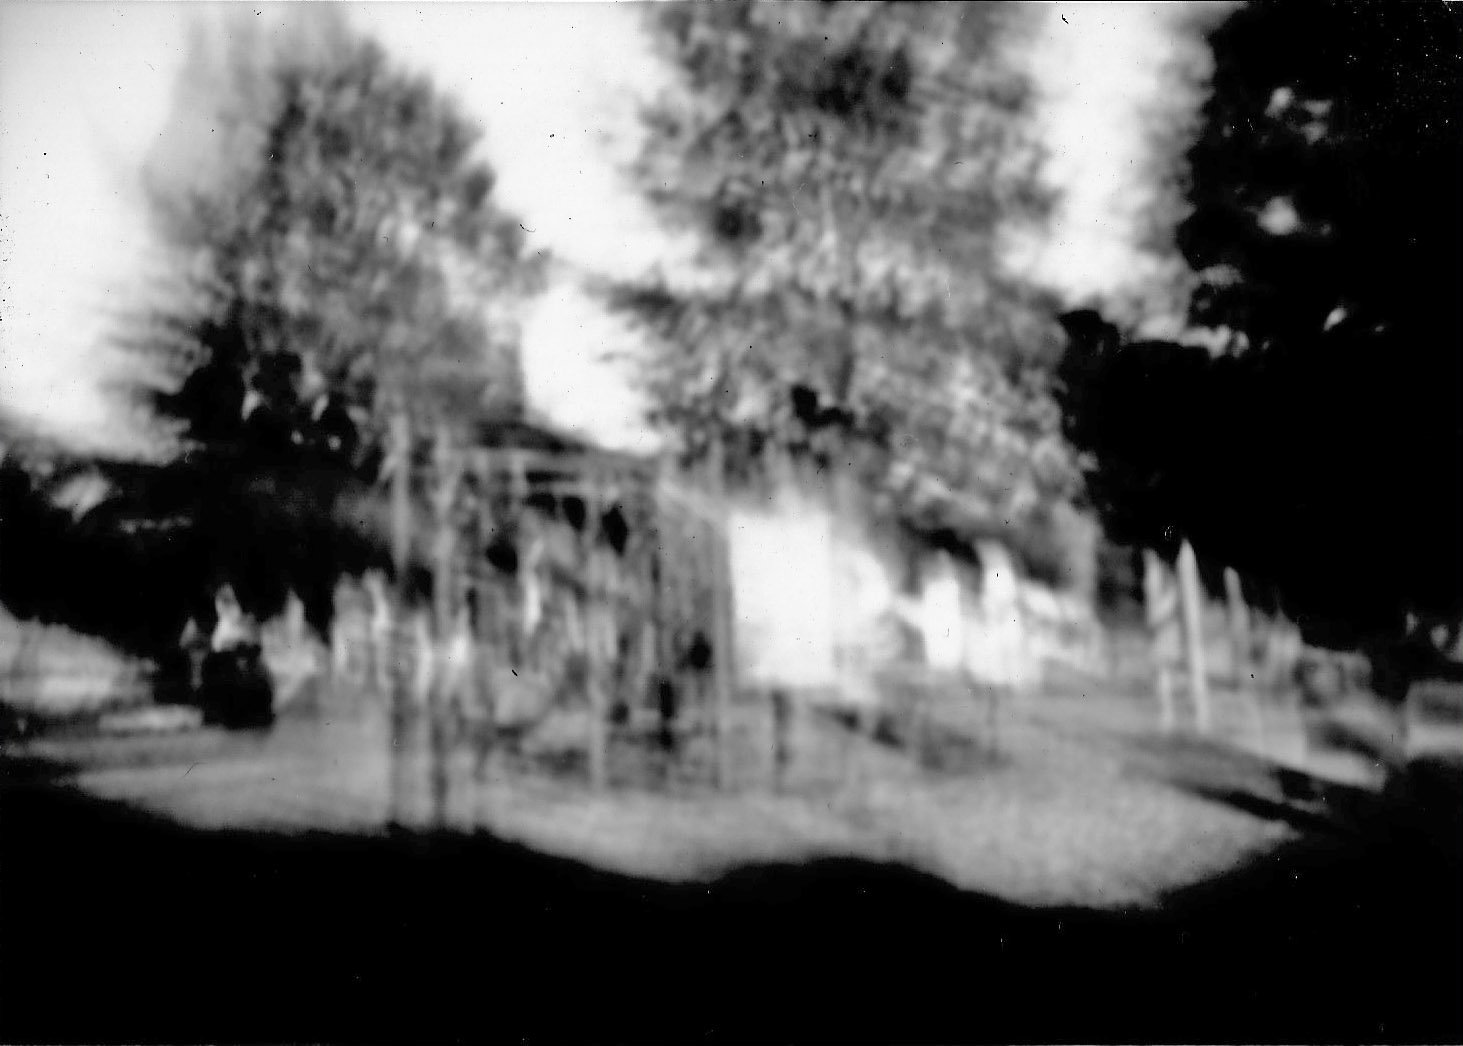
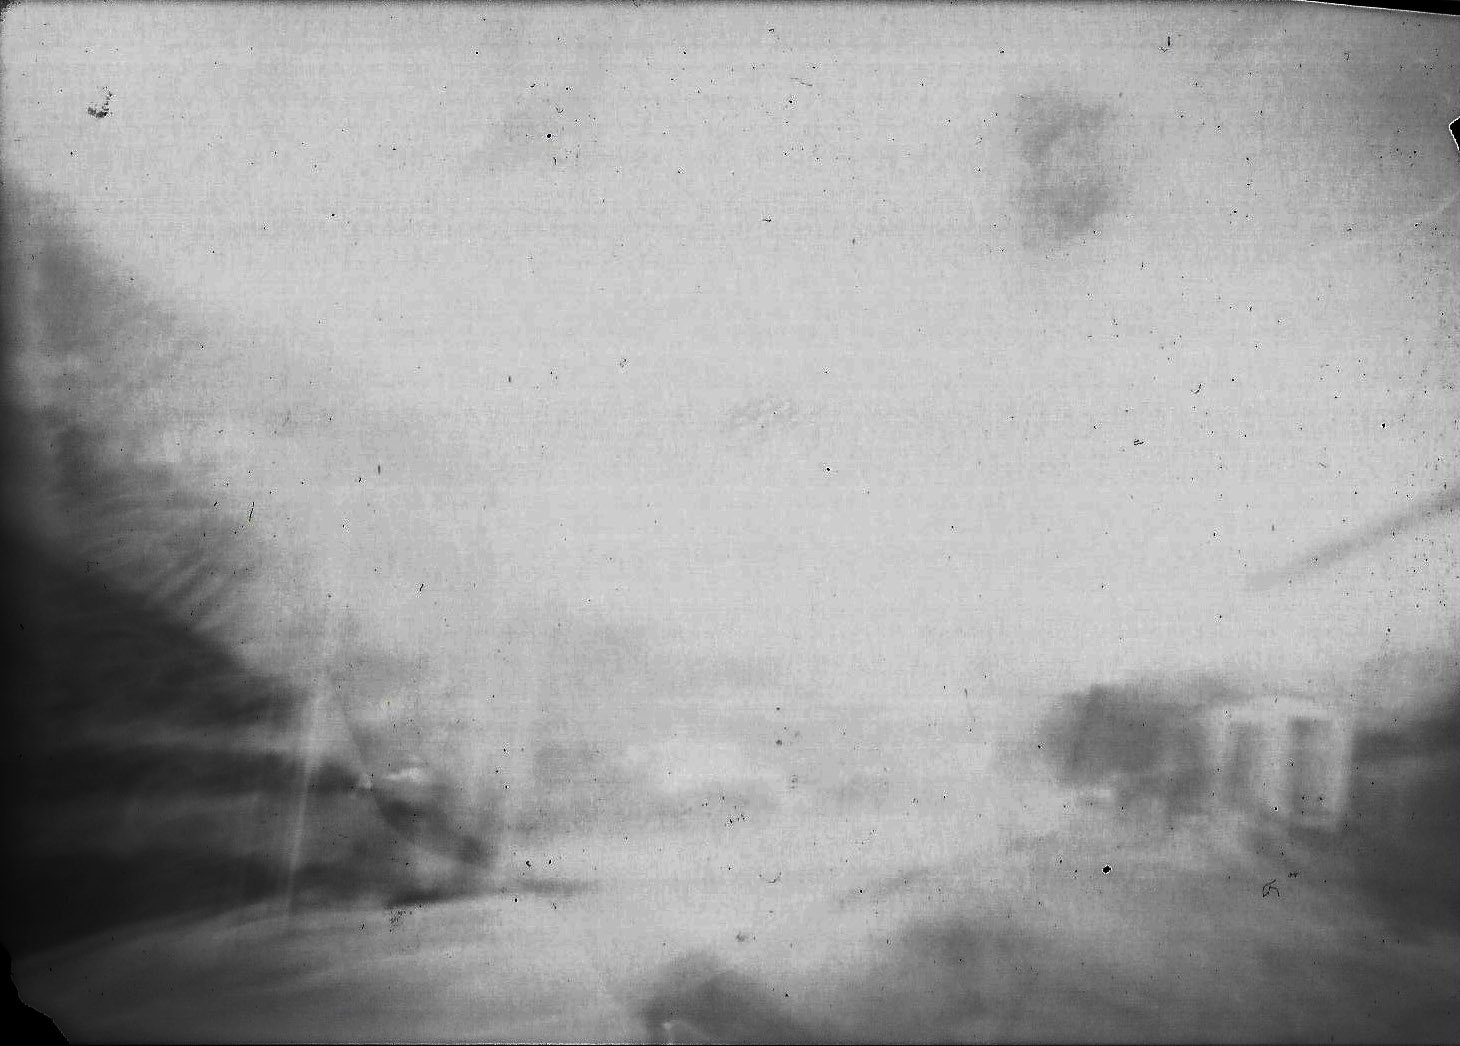
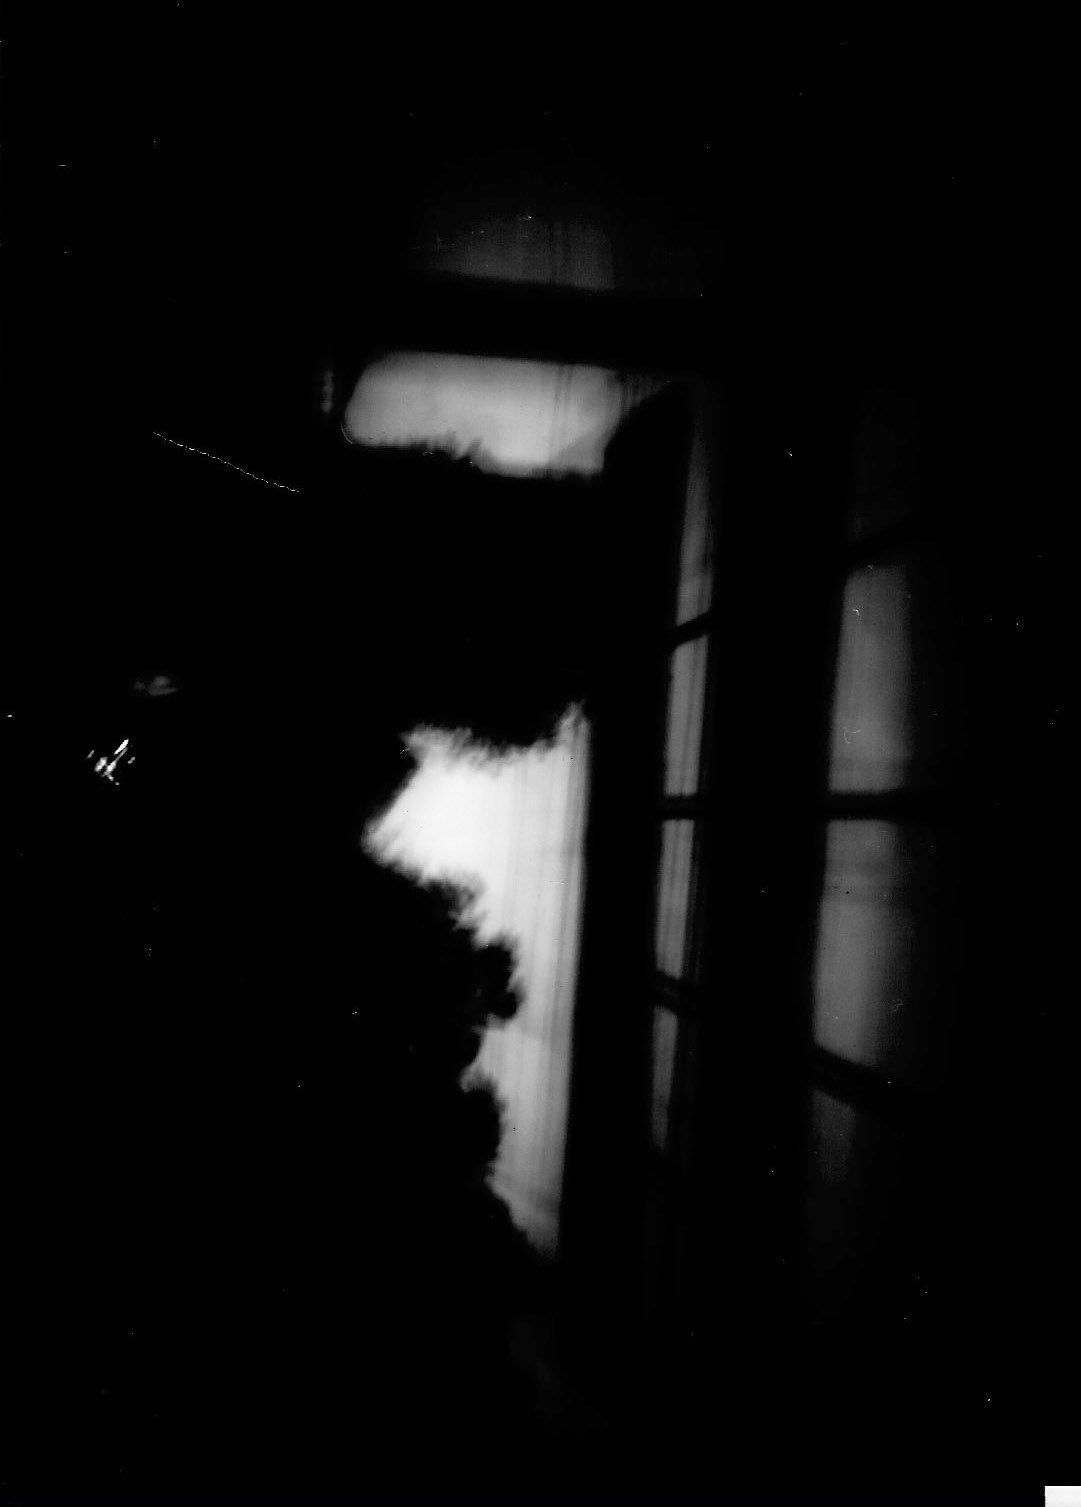
The students were each given a pinhole camera, and with adult leaders they were able to take a walking tour of their community to capture on film some of the landmark buildings that held a special place for them and their families.


Make Your Own Pinhole Camera!
Select a small box, easy to handle and make it light-tight.
We used a small photo storage box from a local craft store that was already black inside, to prevent any light from glaring or reflecting.Cut a 1/2” x 1/2” square in the lid of the box, place a piece of aluminum over that hole, and tape it in place well, being sure there are no light leaks. (You can use a flashlight to test it)
Using just the very tip of a push pin, punch a small “pin hole” in the aluminum.
We placed a small piece of tape over the pinhole and reinforced it with multiple layers to prevent light leaks. This will act as the shutter for our camera.
We used small scrapbooking corners to ensure the photo paper would stay in place once loaded in the box.
The photo paper is light sensitive, so loading the pinhole cameras must be done in a darkroom, with minimal assistance from a safe light.
We learned that stability is key!
Place the camera on a stable object, and compose your shot!Open the shutter and time your exposure. We used a shutter of about 4 seconds on a sunny day.
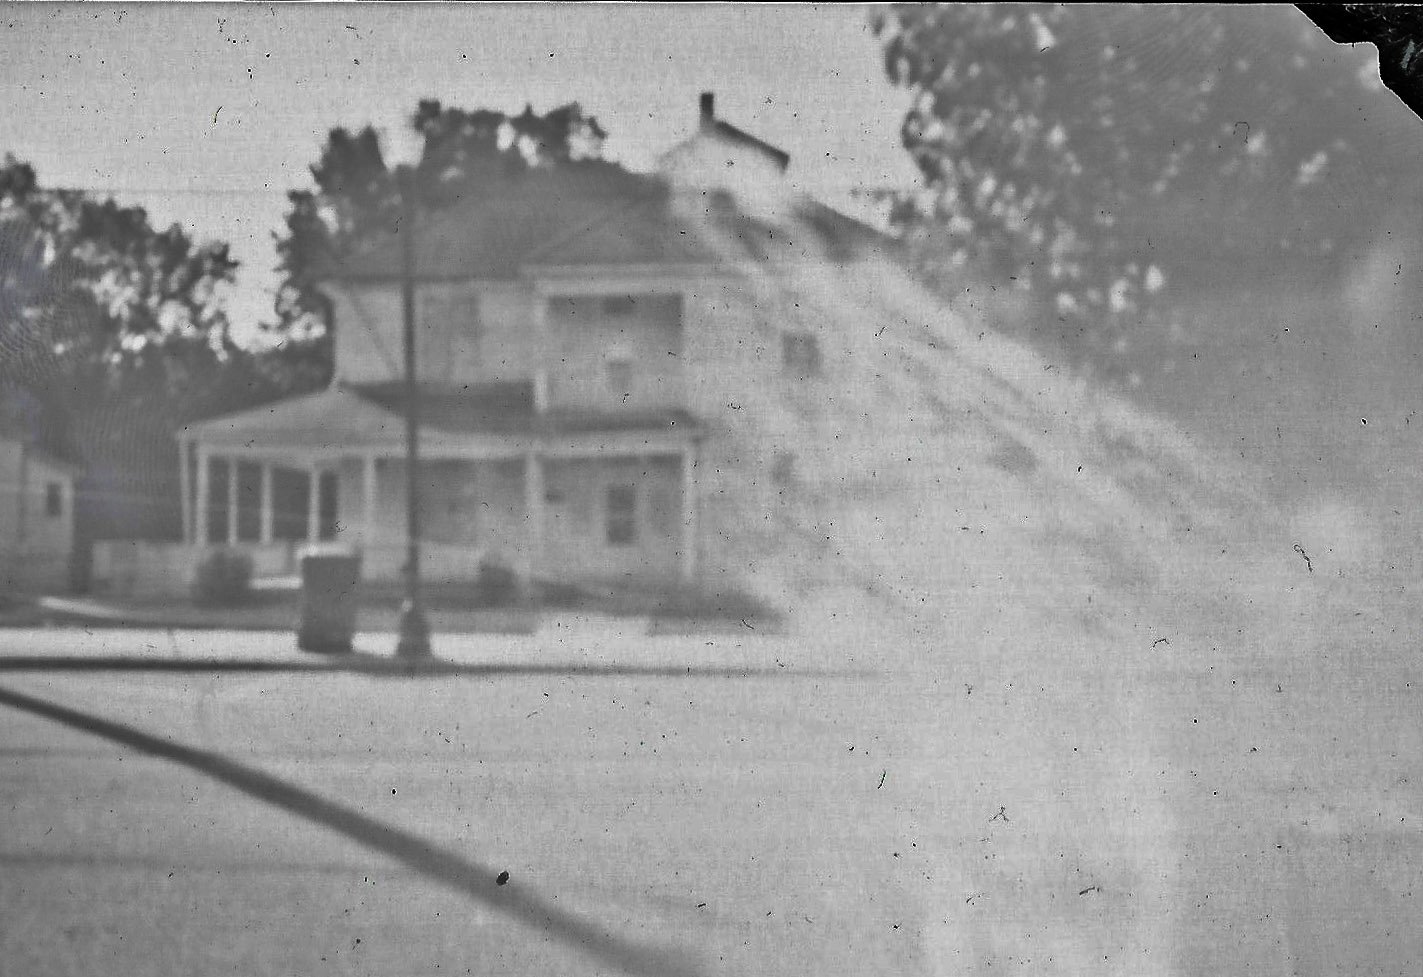
After replacing the tape over the shutter we used Alford developer and fixer to develop all the images the students were able to get, and scanned them digitally, to invert them, as the image captured with come in negative, when shadows are white and highlights show black.


We had a great time working through the students’ ideas and teaching them how to creatively explore photography from the fundamentals first, so they could really appreciate how far the technology has progressed from the days of Ansel Adams to the power of the smart phones they, or their parents keep in their pocket!
Step 2
Let’s Get Digital!
On our return trip to D-Up we asked two of our very talented photographers; Peter Mueller and Sophie Van Zandt to teach a class about the basics of digital photography and the students were engaged and had a lot of great insight to offer!
We were fortunate to work with Greico and the team at KEH Camera to purchase 25 digital cameras with SD cards to donate to D-Up for the students’ use in their future lessons, projects and activities. During this second class, the students were able to try their hand at landscape, macro, portrait and with the help of some truly inspiring adult leaders, action photography!


Step 3
What’s next?
D-Up is planing a few field trips with the students around High Point, allowing them to create photos of what “community” means to them.
We are going to gather their memory cards, process the images each student captures, then mount those images and present a gallery exhibition to auction these amazing, one-of-a-kind images off, with 100% of the proceeds from the auction and donations going directly to the D-Up school to put towards their school renovation and expansion.
We re so excited for this next step, and as the details fall into place, please follow us on Facebook and Instagram for updates to date, time and venue.
If you’d like to help support us in any way for this inspiring gallery and silent auction please contact us on our website, or through social media.
We look forward to seeing the looks on the children’s faces as they see their artistic expression and creativity come to life in a big way!